Currently, in odoo, you can't manage the leave at the portal. Using this module you can create leave from the website portal. You can create the leave by custom time based on leave type. You can create, cancel and view leaves using "Action". You can sort by leave by newest and name. We have provided filter leave option so easy to filter the leave by last month, last week, last year, this month, this quarter, today, this week & this year. You can easily group by the leave by their type. Using a search bar you can search leave easily. When leave create that will put it in the 'Draft' state by default and then after admin can move in approve or cancel state. The admin can approve or cancel the leave from the portal and that changes automatically saved in backend. The admin can review and confirm the leave from the portal. It shows notification after create, reset, update & delete the leave.You can chat/message or share attachment inside the leave chatter.
Features
Easy to create, cancel and view leaves at the website portal.
Easy to create the leave by custom time based on leave type.
You can easily group by the leave by their type.
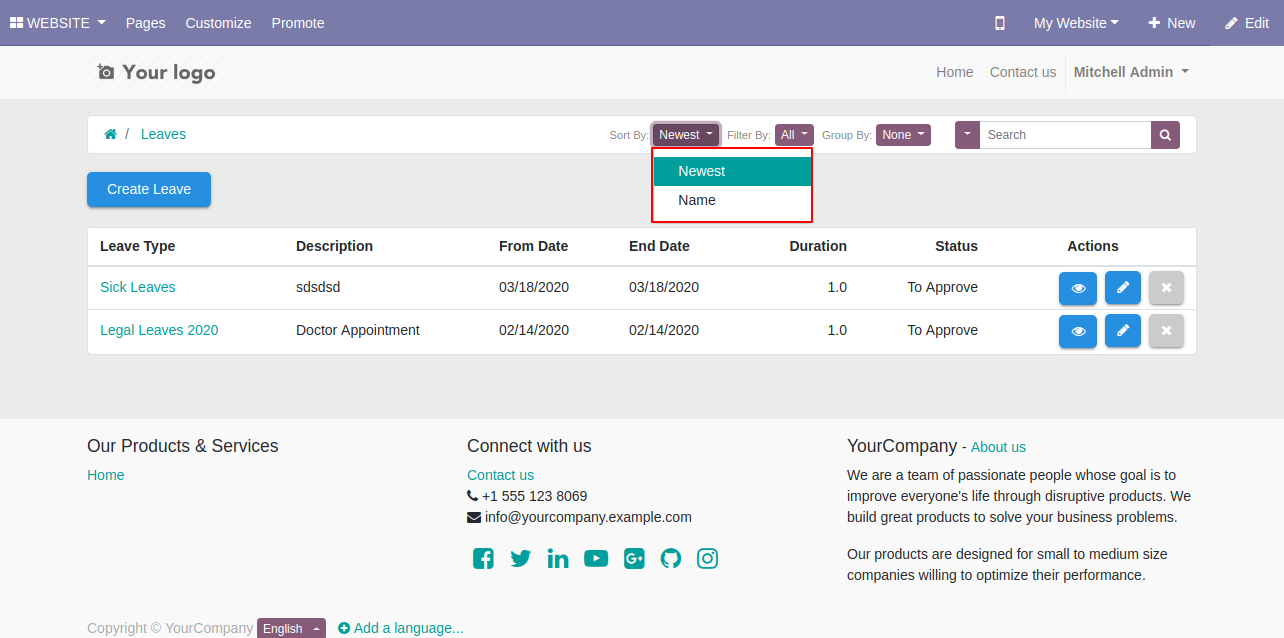
Easy to sort by leave by newest and name.
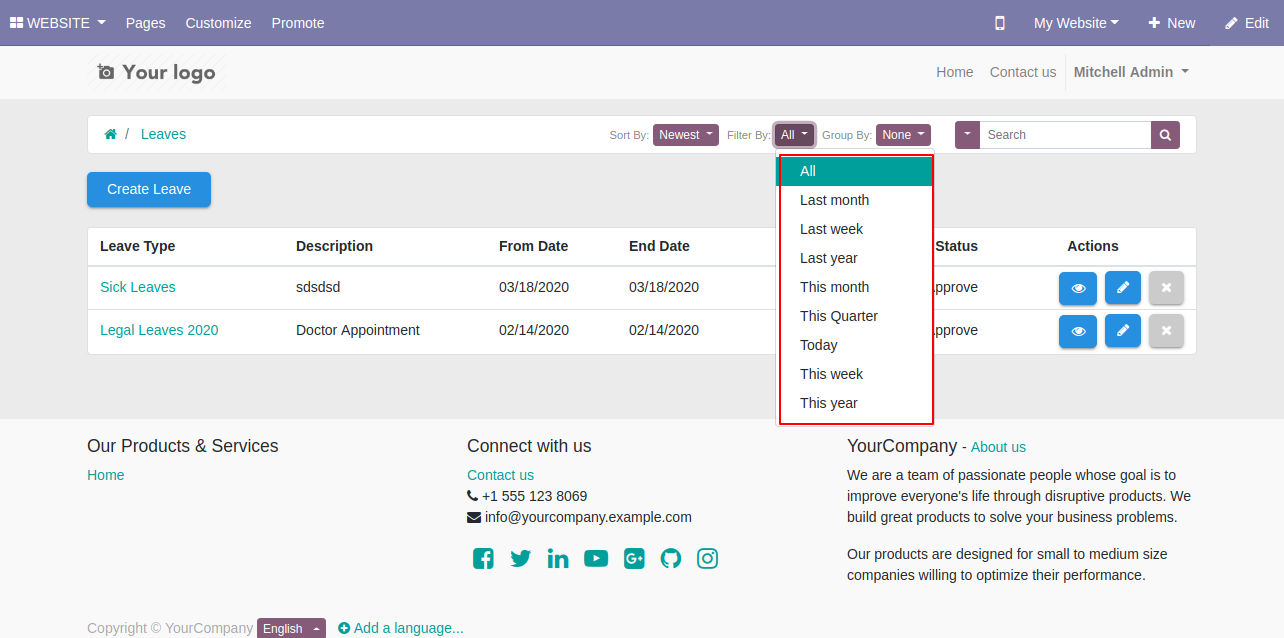
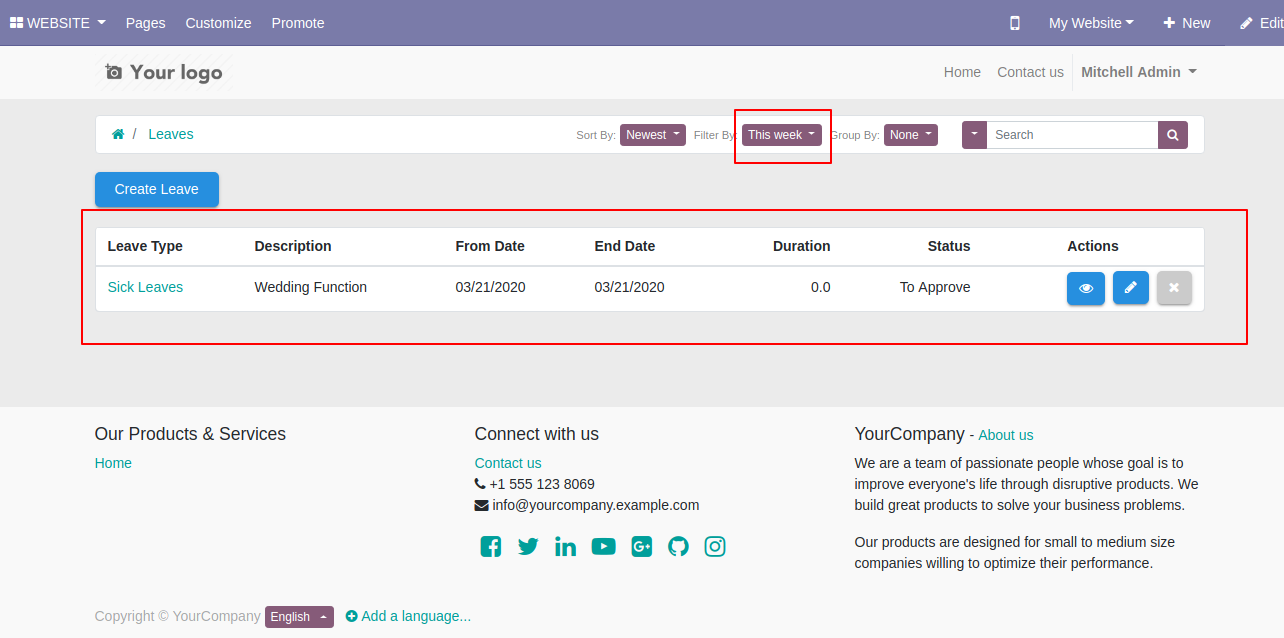
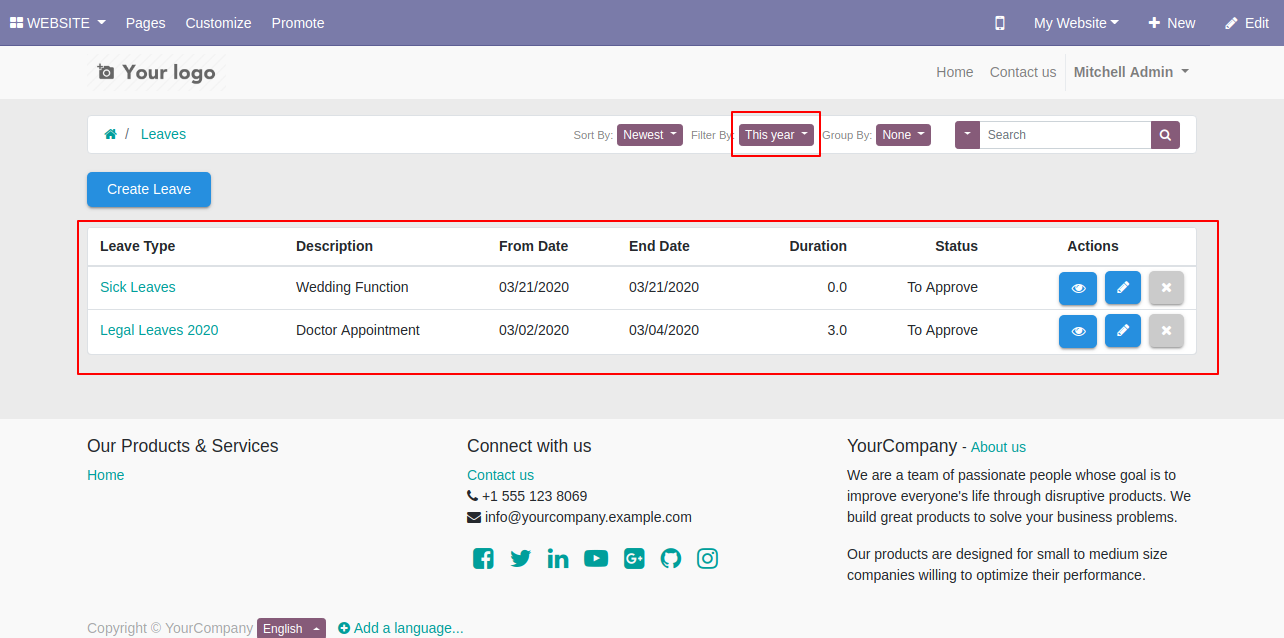
Easy to filter the leave by last month, last week, last year, this month, this quarter, today, this week & this year at the portal.
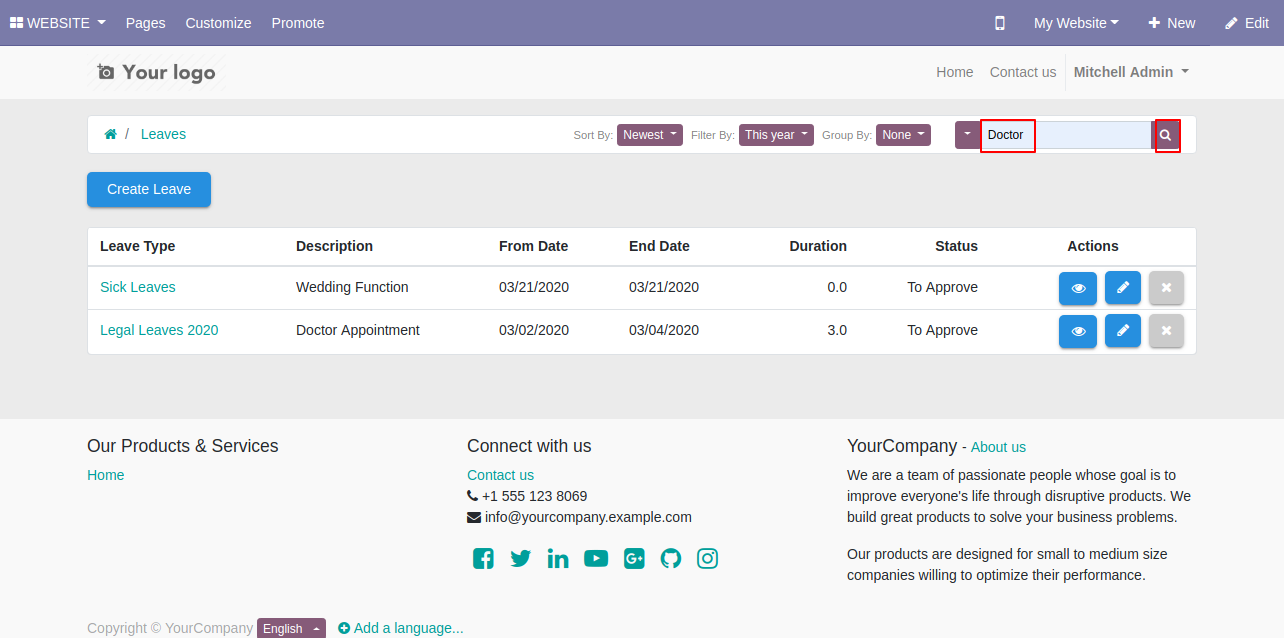
Easy to search leave using the search bar.
The notification comes after create, reset, update & delete the leave.
The leave creates then it will put it in the 'Draft' state by default.
The admin can approve or cancel the leave from the portal.
The admin can review and confirm the leave from the portal.
Website portal changes automatically saved in the backend.
You can write comments, send messages and attach files in the chatter.
No special configuration required, install it, use it.
This module saves your important time.
It reduces human efforts.
Version
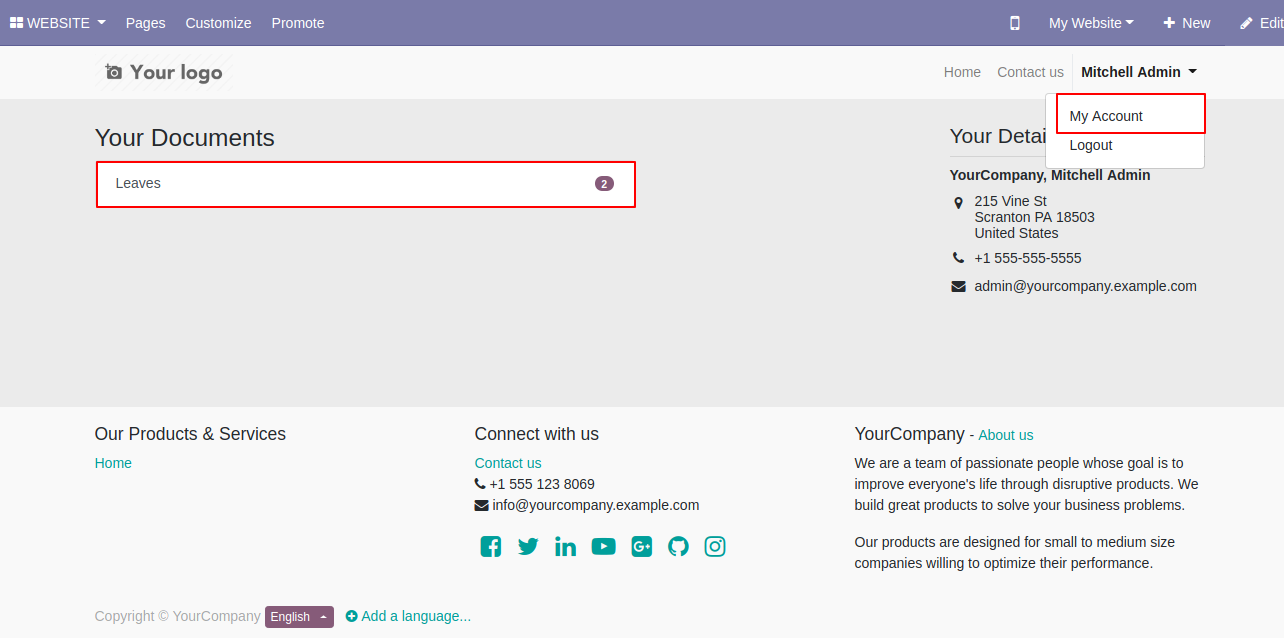
In my account(portal) go to "Leaves".
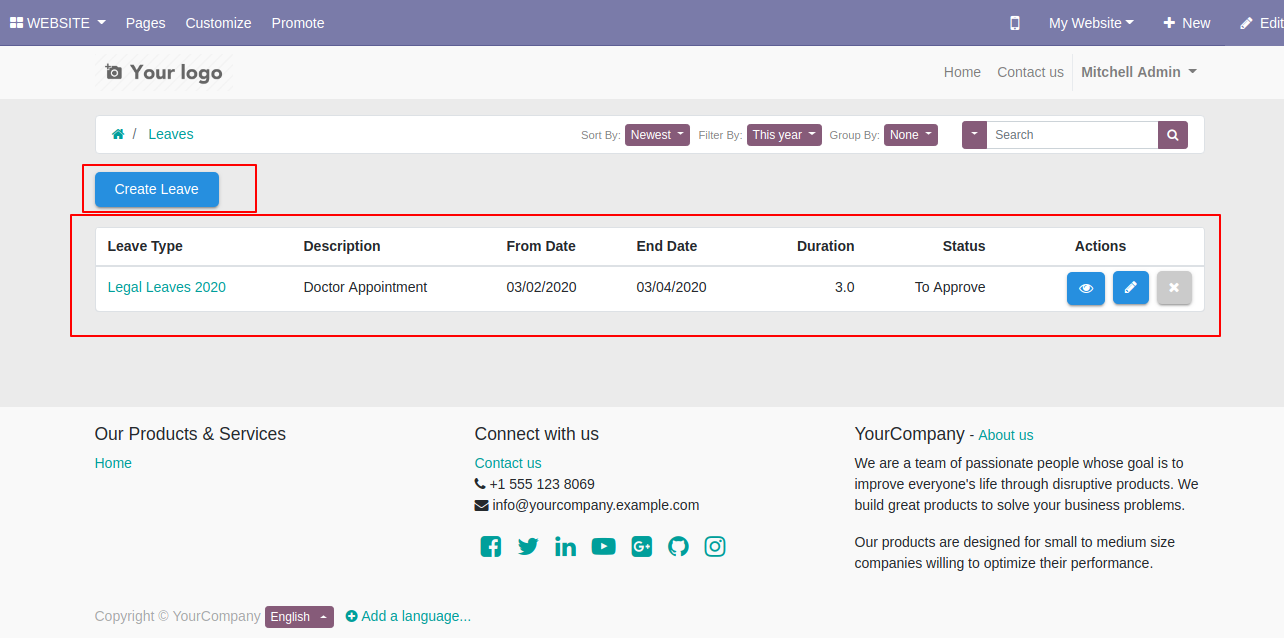
You can create a new leave from the "Create Leave" button.
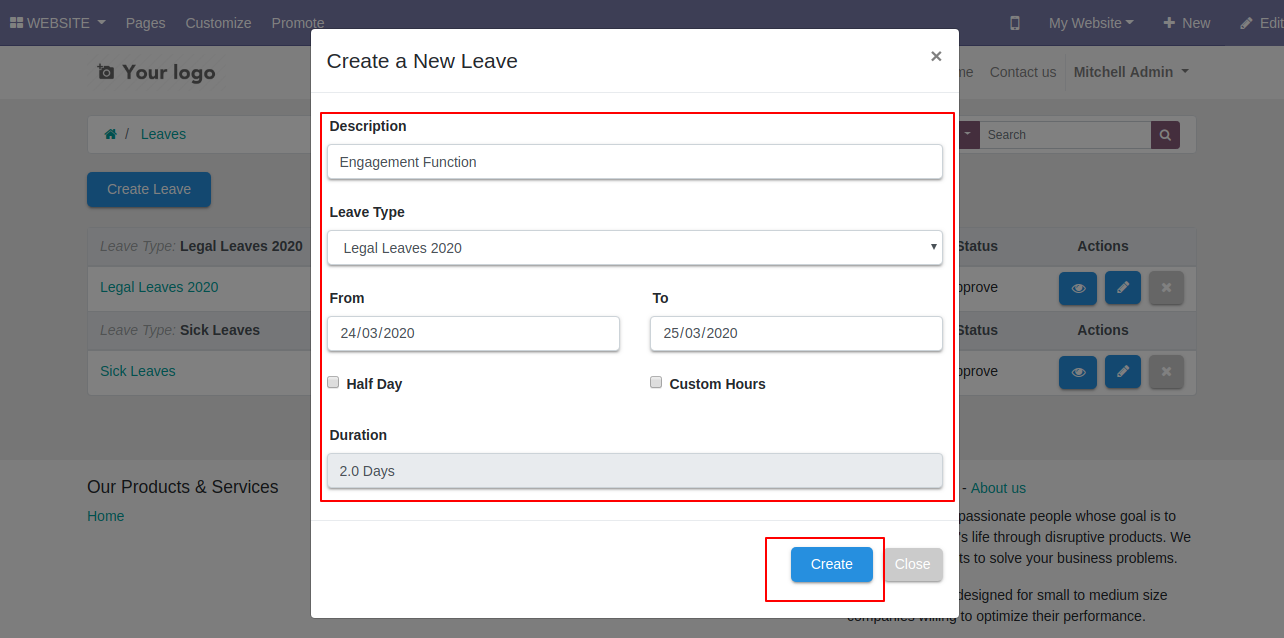
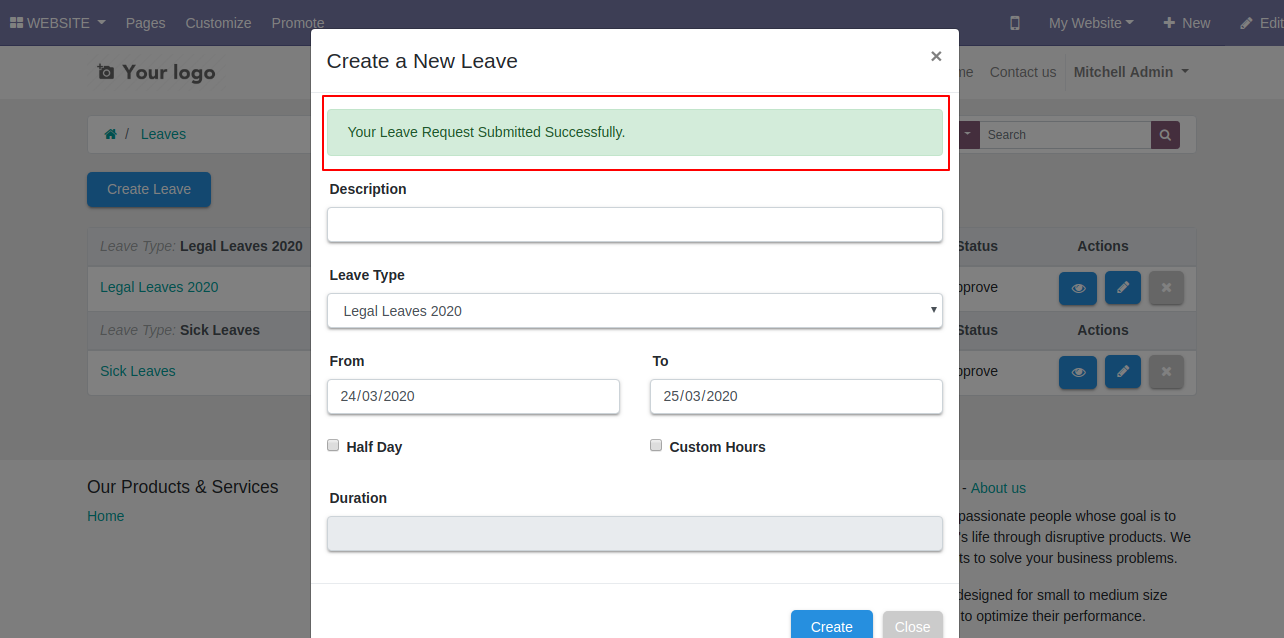
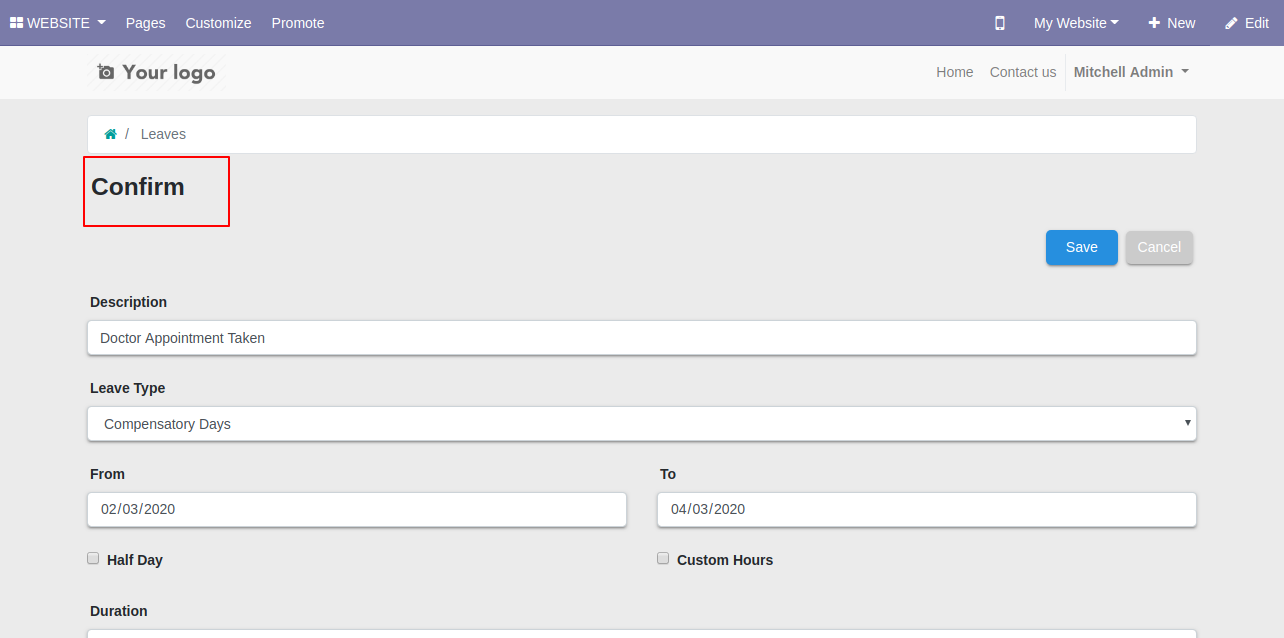
After that one wizard opens fill details and press the "Create" button.
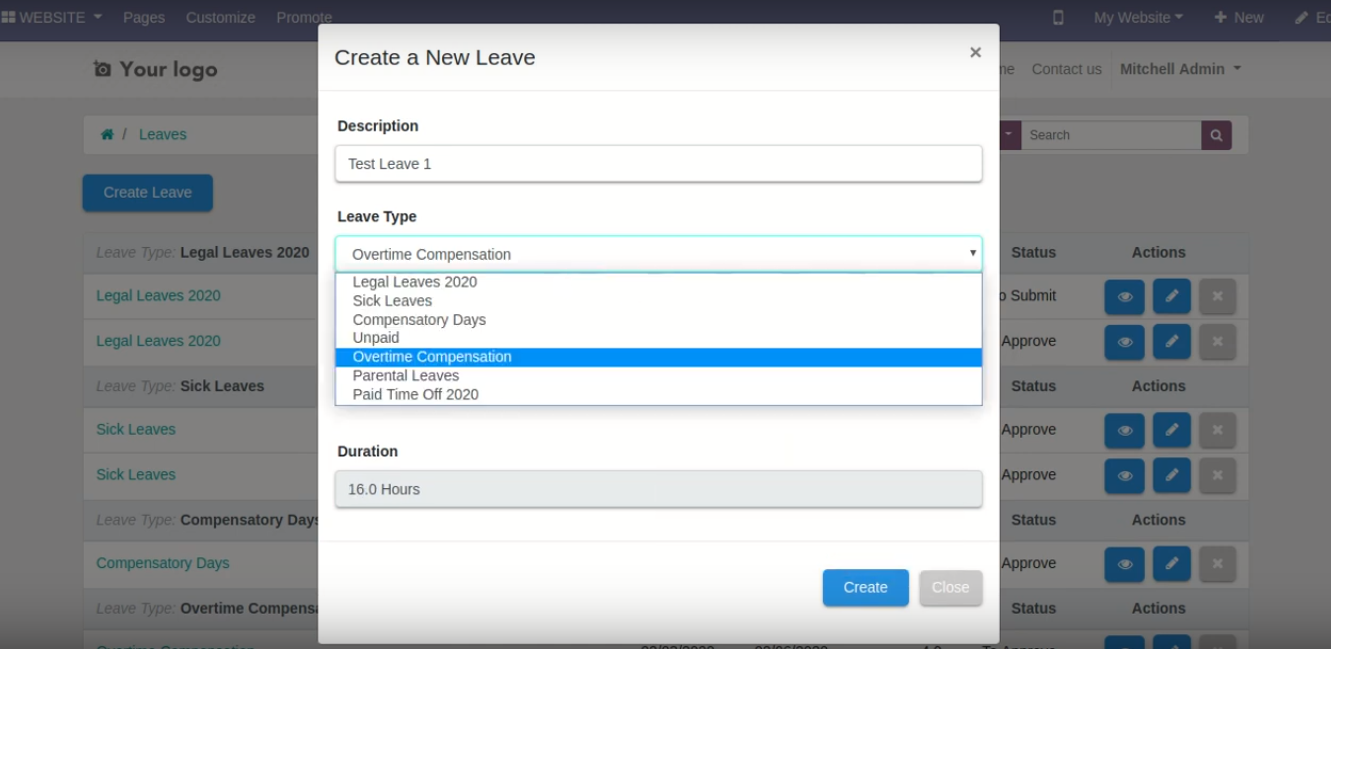
Select leave type.
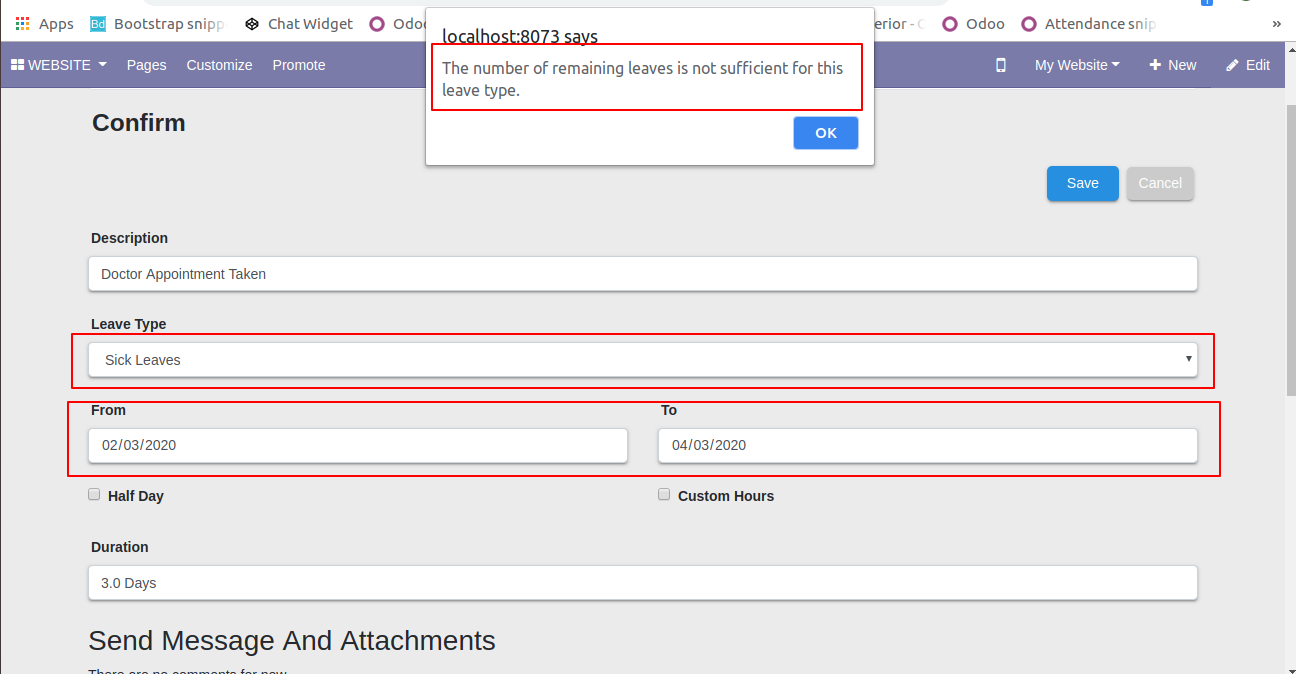
If any leave type does not match your criteria then it shows alert.
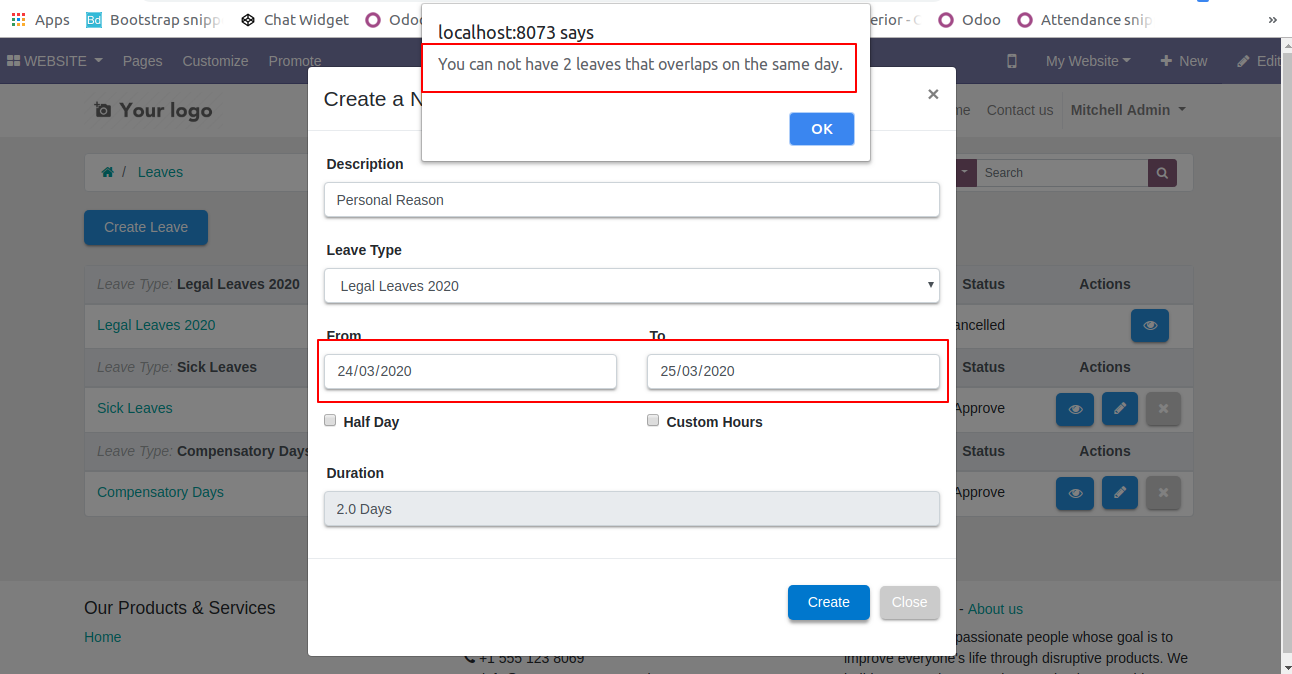
If any leave overlaps then it shows an alert.
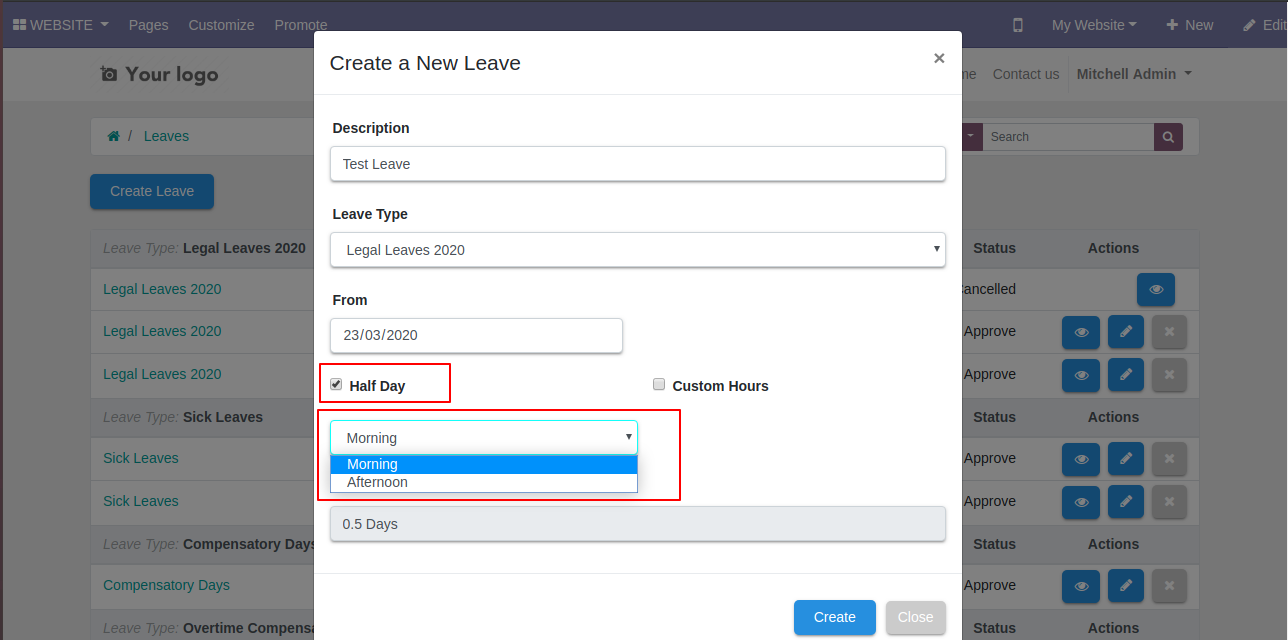
You can create half-day leave, so tick that checkbox and select time like morning & afternoon.
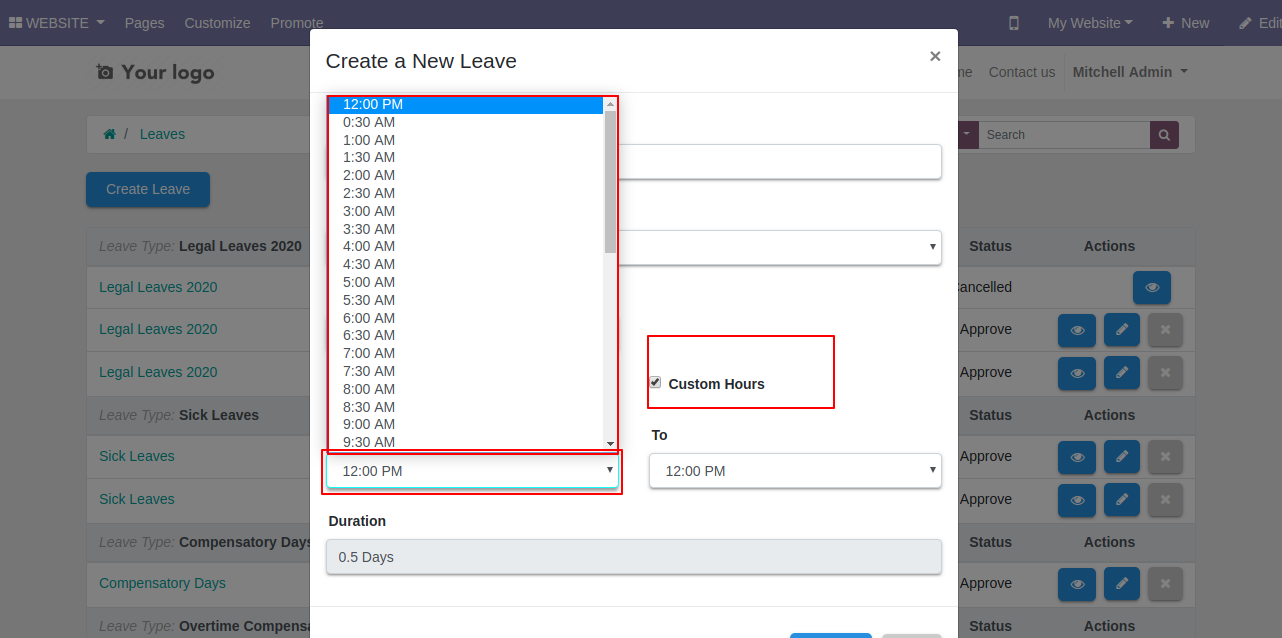
You can create custom hour's leave.
It shows notification after creating the leave.
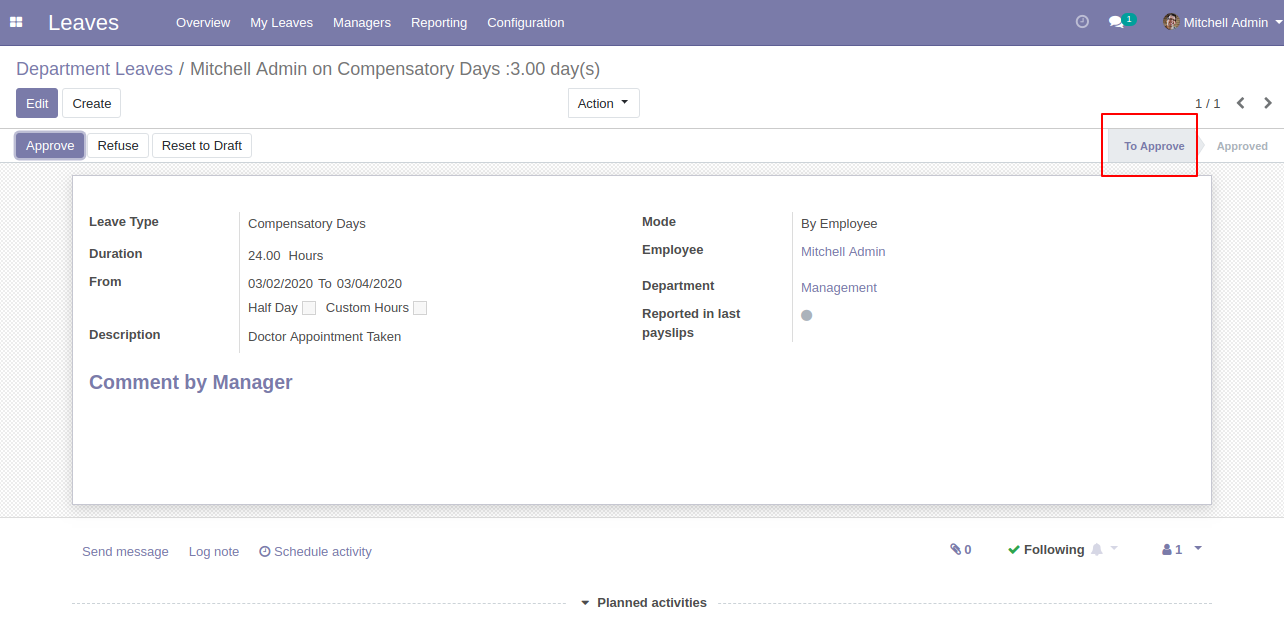
Created leave shows in the backend.
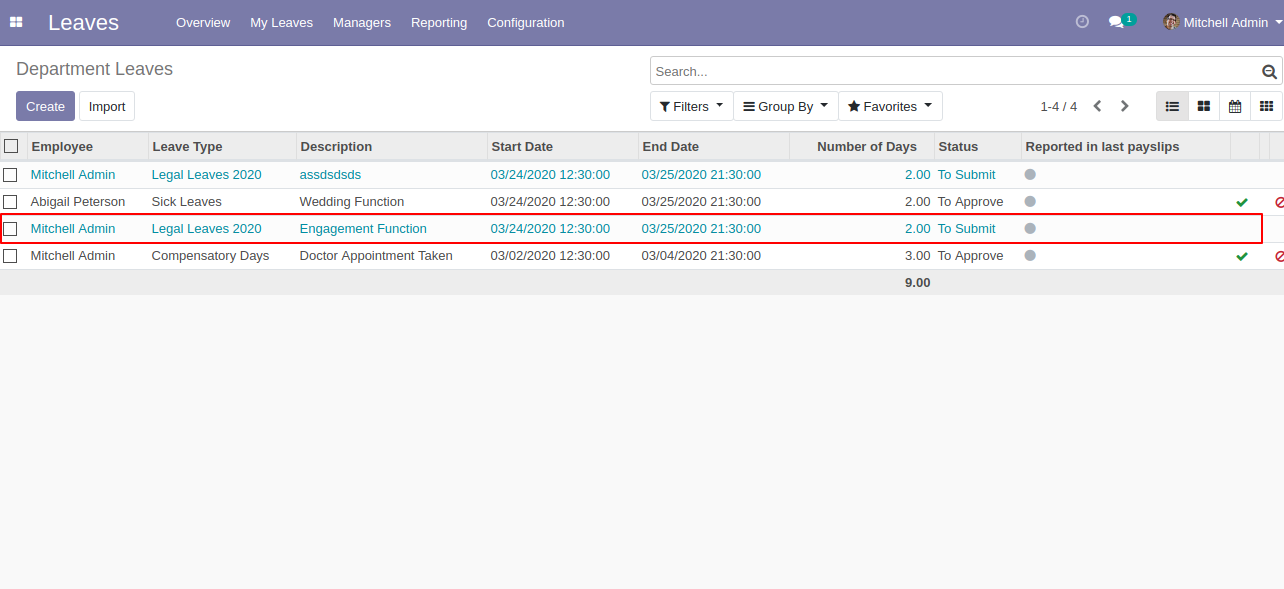
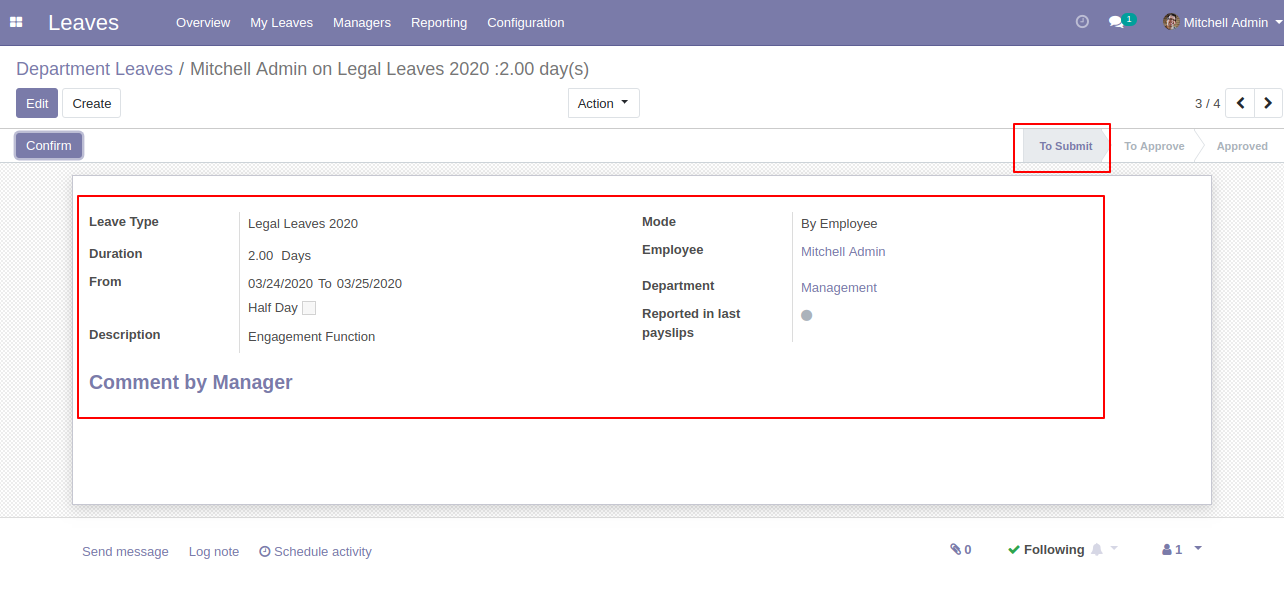
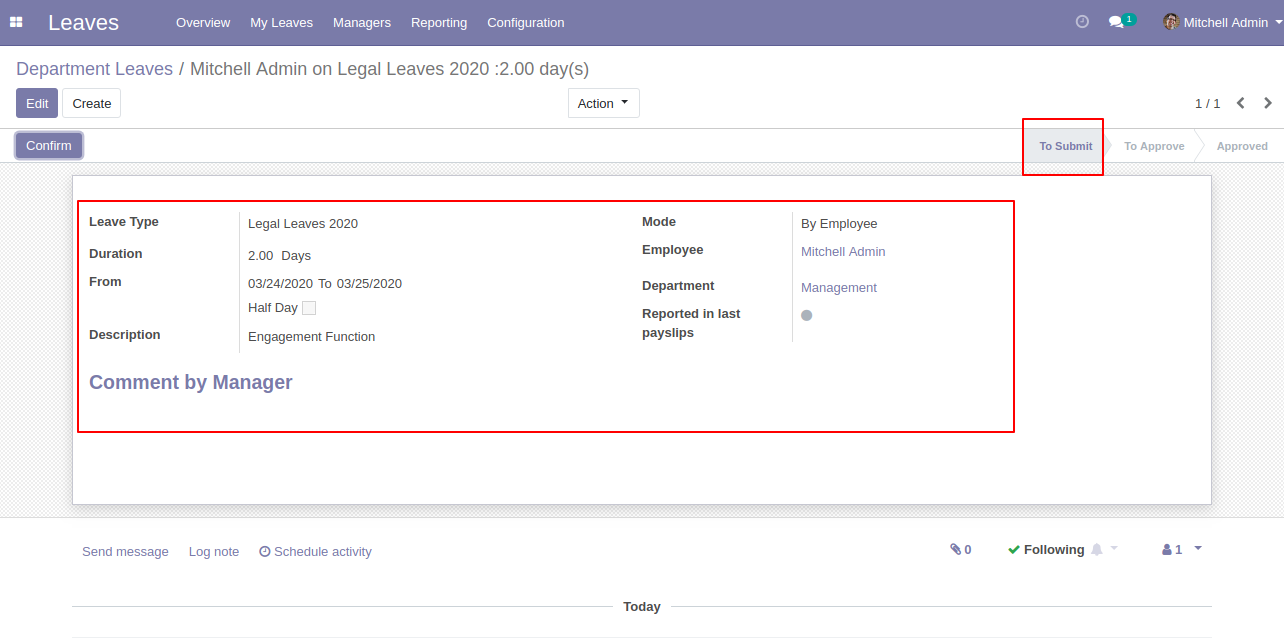
Created leave form view in the backend looks like below, here our state is "To Submit".
"View" Button workflow
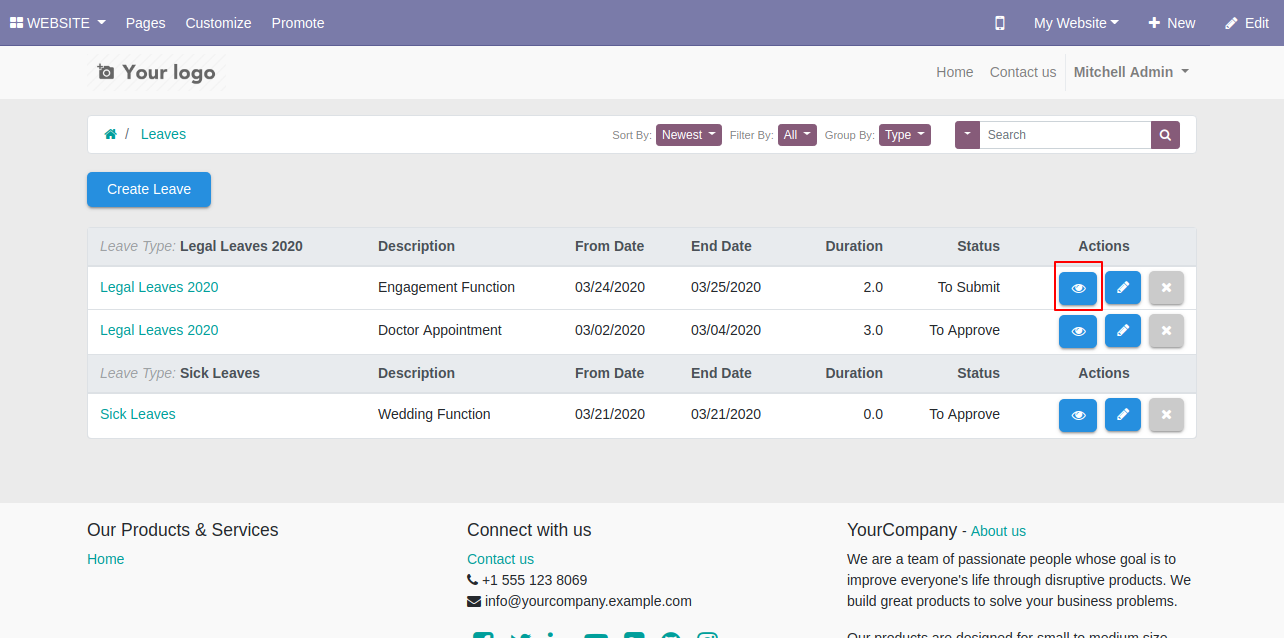
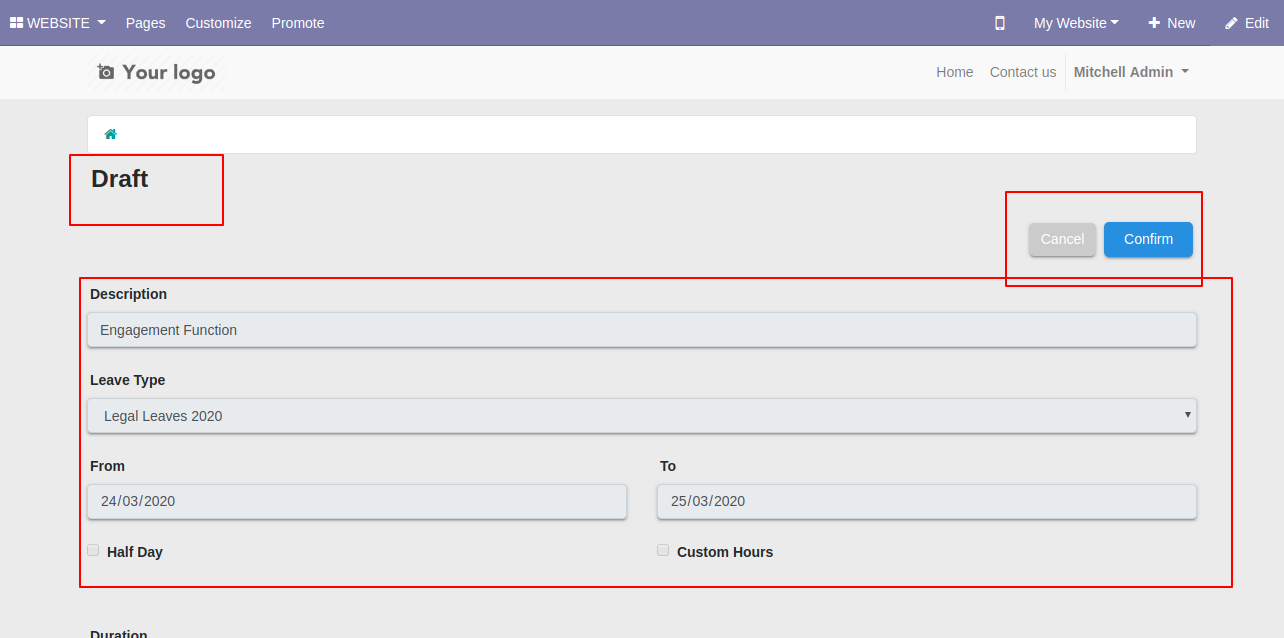
Press the view button to see leave from the portal.
When leave created it comes to the draft state by deafult, admin can confirm or cancel leave.
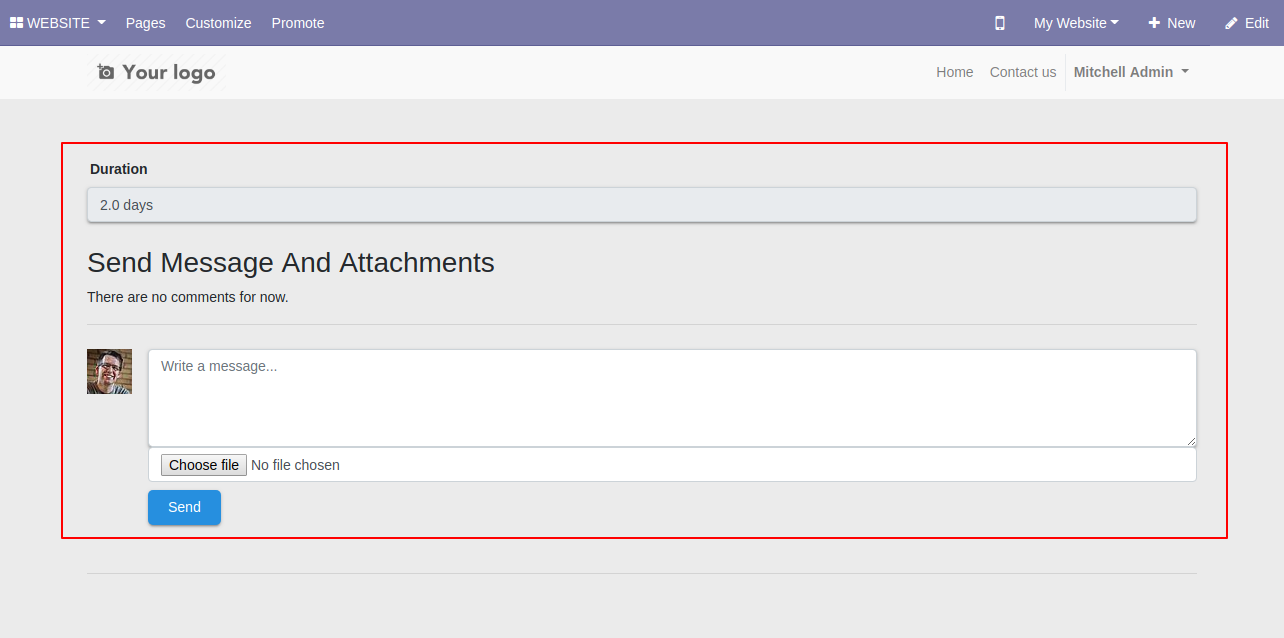
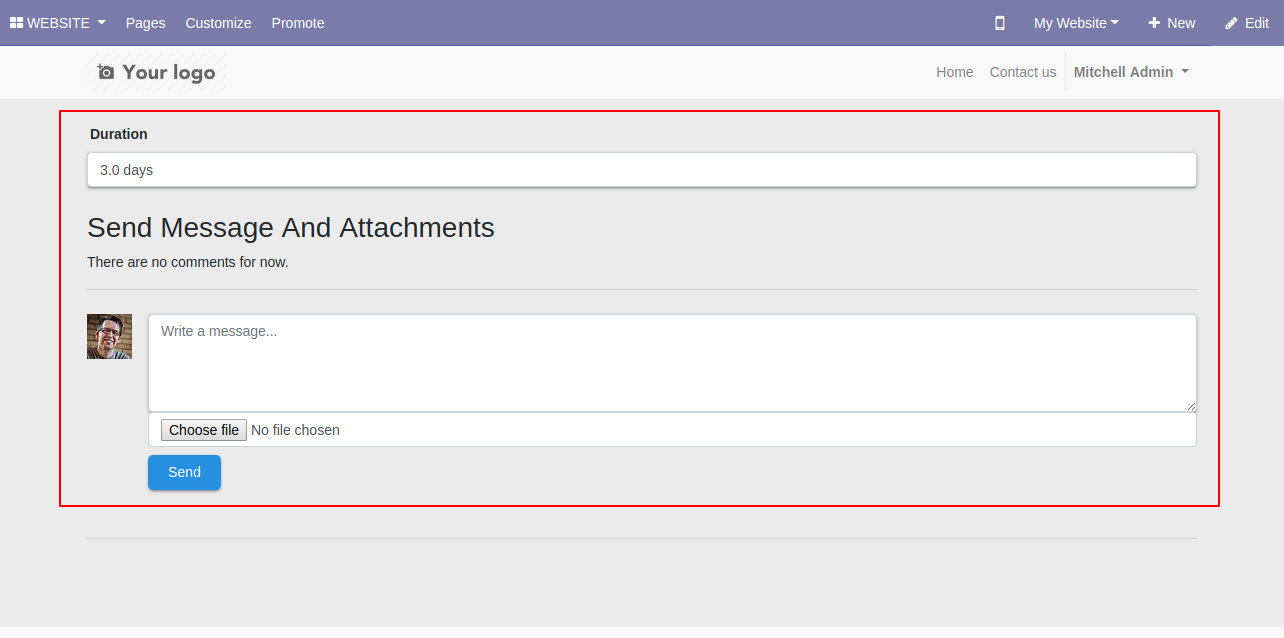
In the chatter, you can write comments, send messages and attach files.
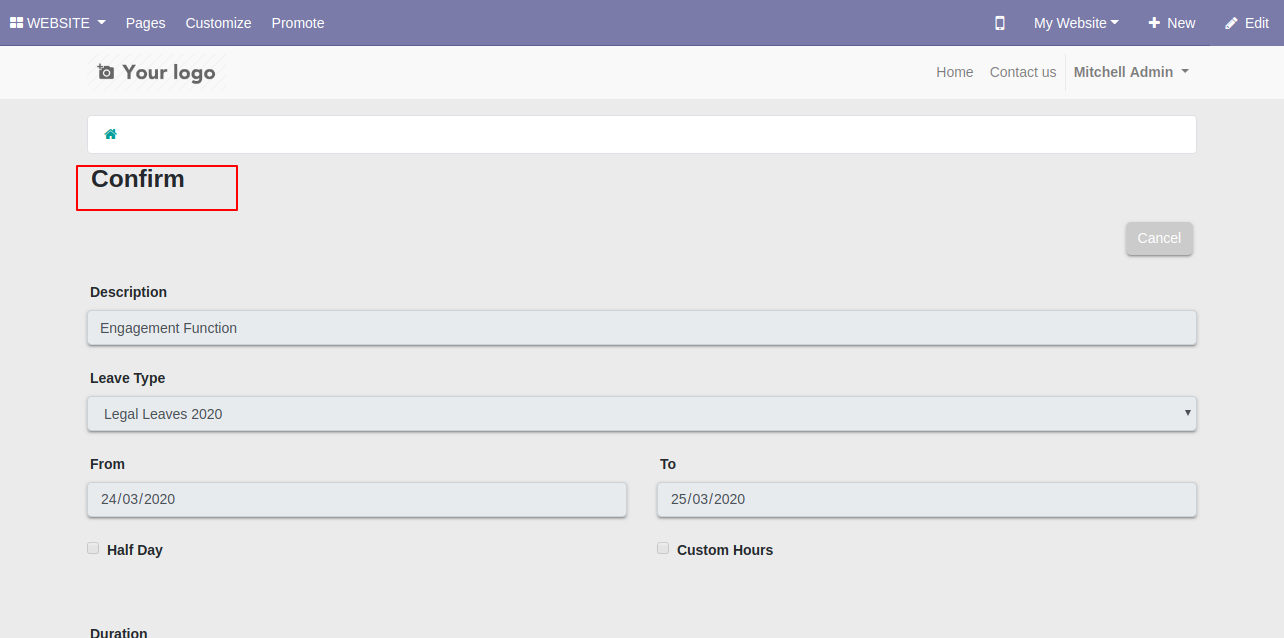
If admin press "Confirm" button then leave is confirmed.

After confirming leave admin can cancel leave.
Confirmed leave tree view in the backend.
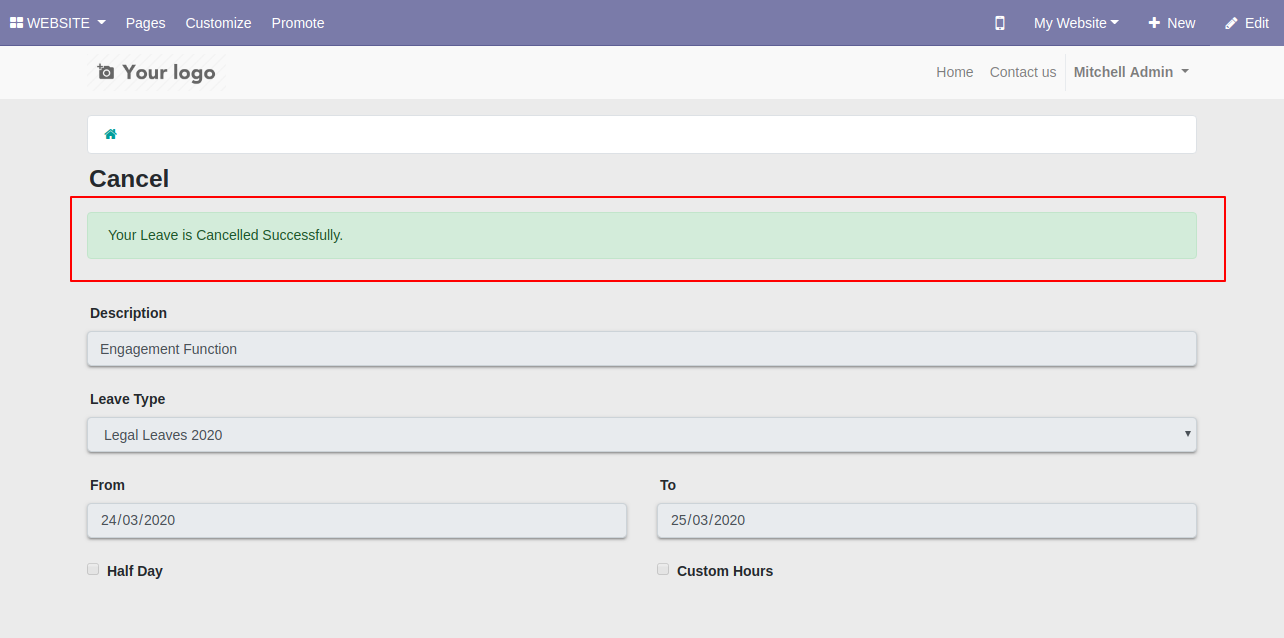
If admin press the "Cancel" button then leave is canceled.
It shows notification after canceling the leave.
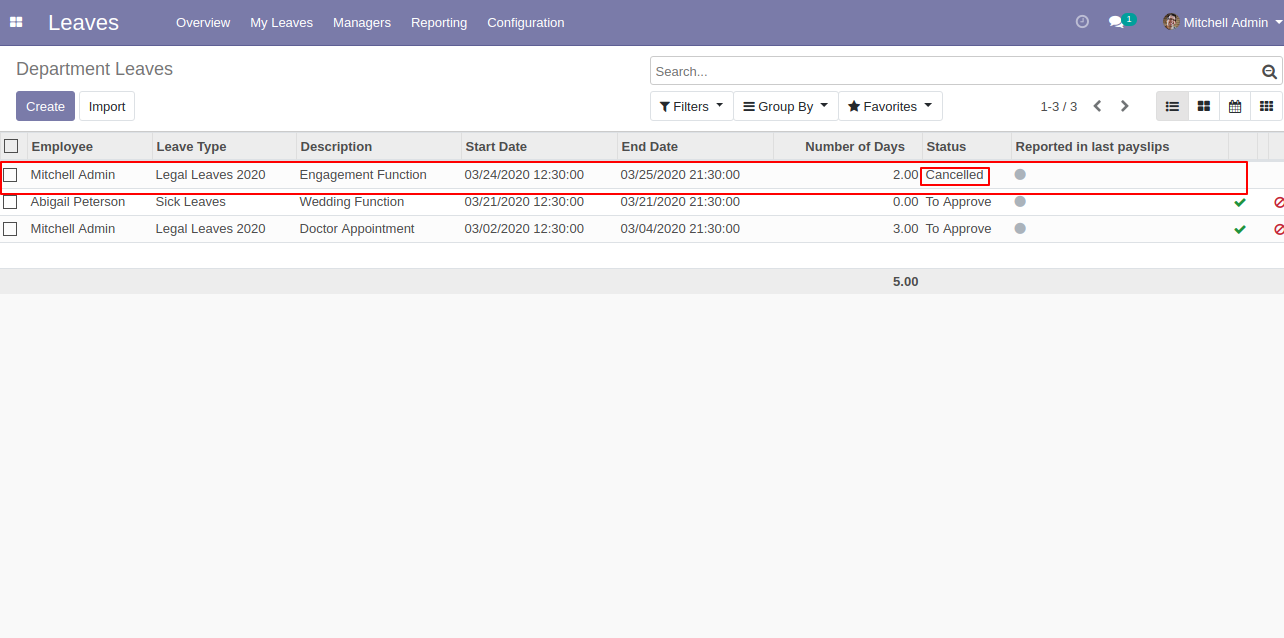
Cancelled leave tree view in the backend.
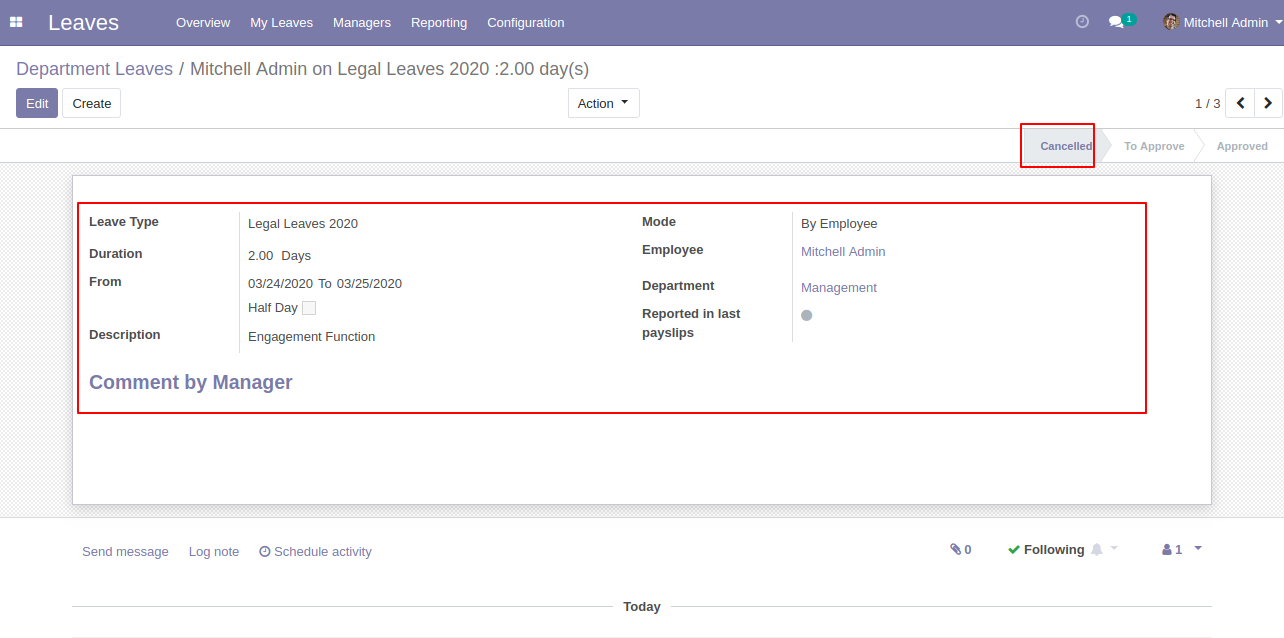
Cancelled leave form view in the backend, here the state is "Cancelled".
The admin can review and confirm or cancel the leave from the portal using the "Reset To Draft" button.
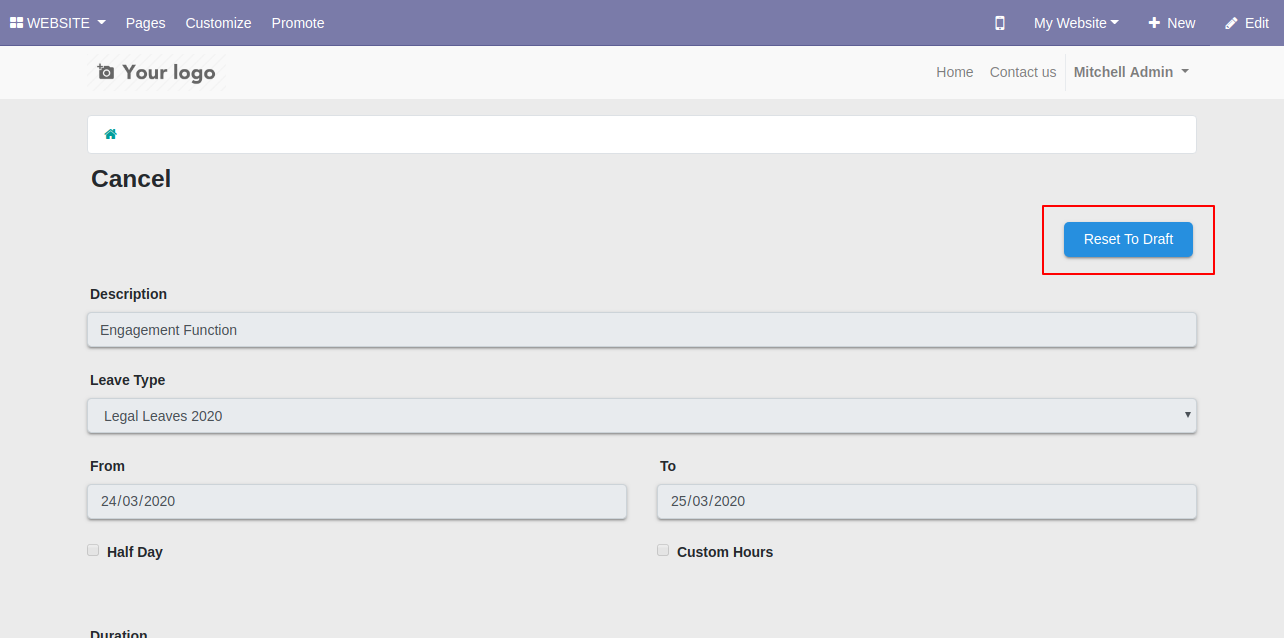
It shows notification after resetting the leave.

Reset leave form view in the backend looks like below.
"Edit/Update" Button workflow
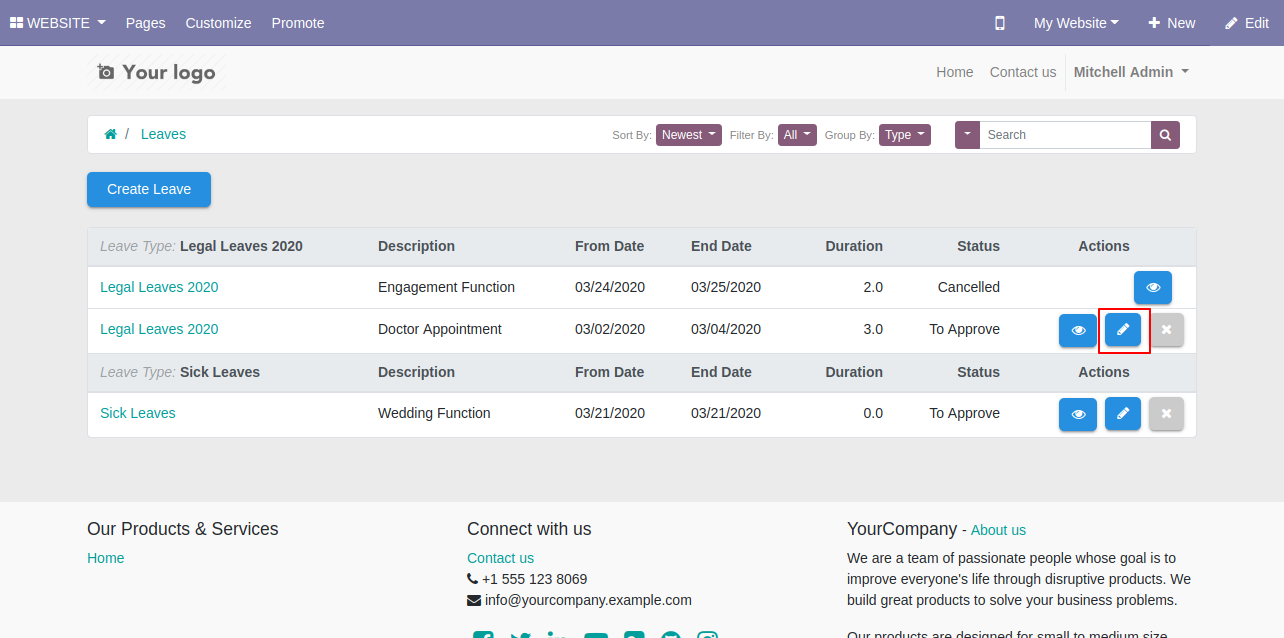
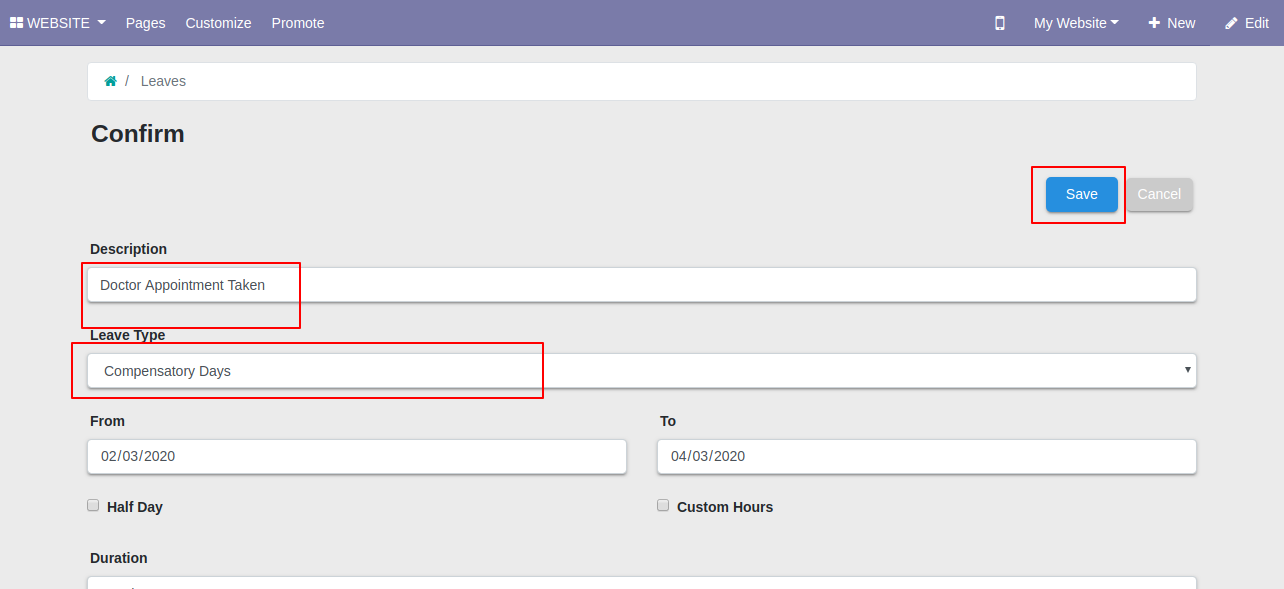
Press the edit button to edit the leave from the portal.
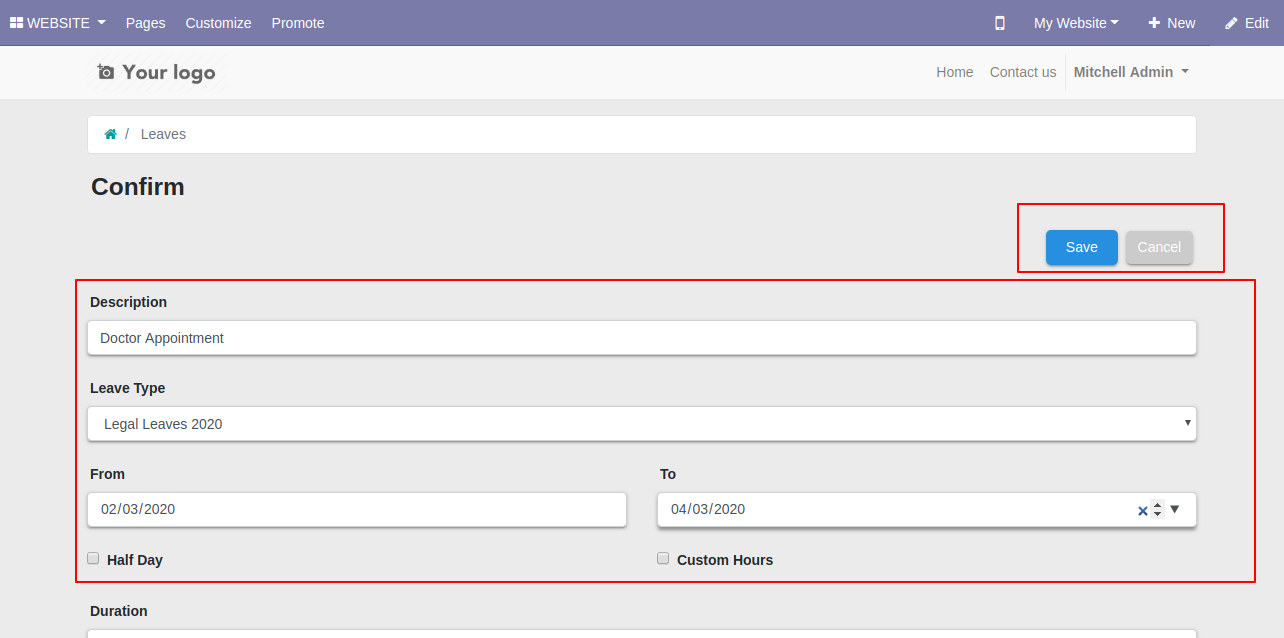
Fill or update details and press the "Save" button.
In the chatter, you can write comments, send messages and attach files.
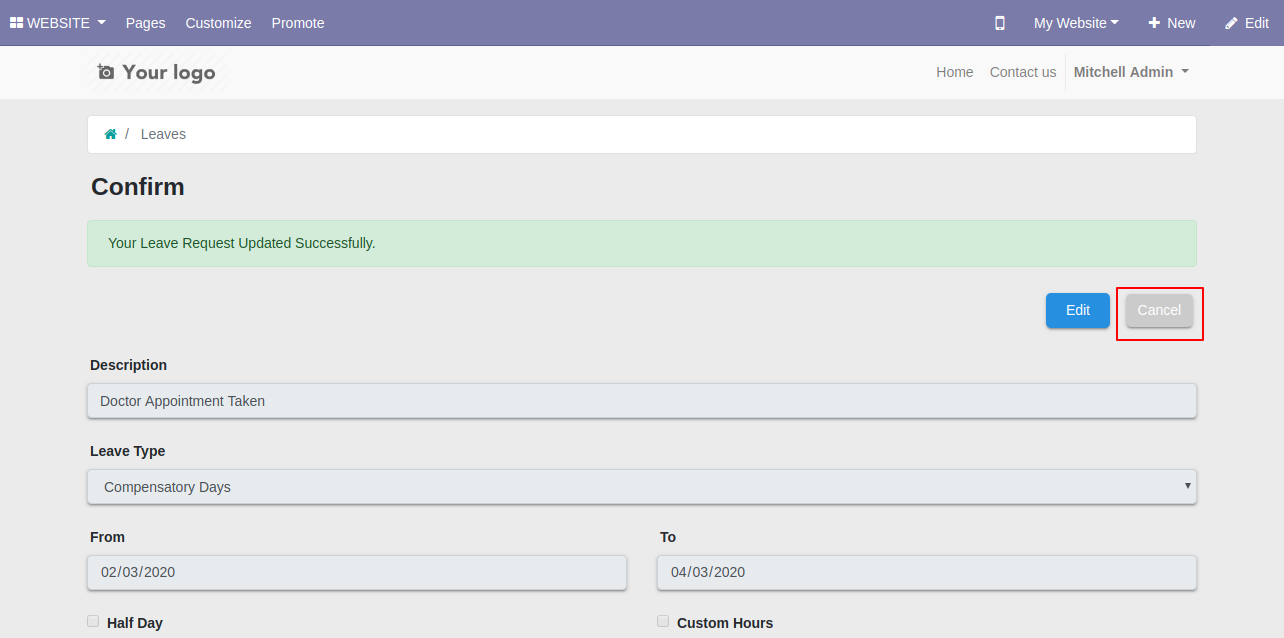
Here we update the description and leave type, after that press the "Save" button to update the leave.
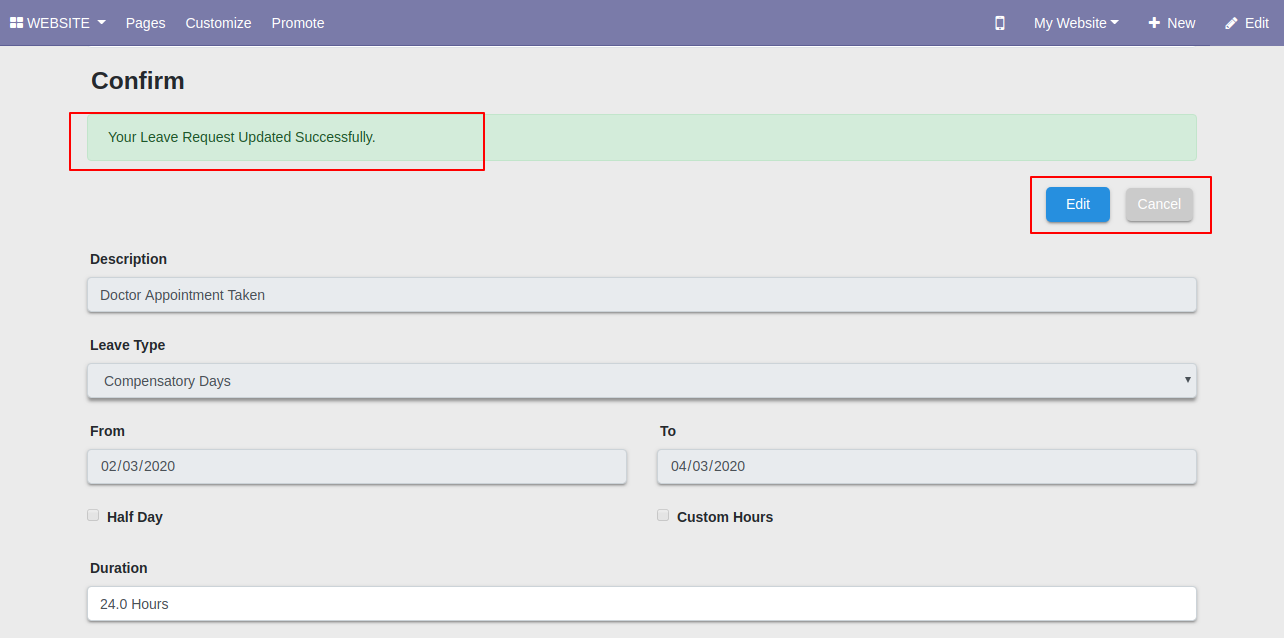
It shows notification after updating the leave.
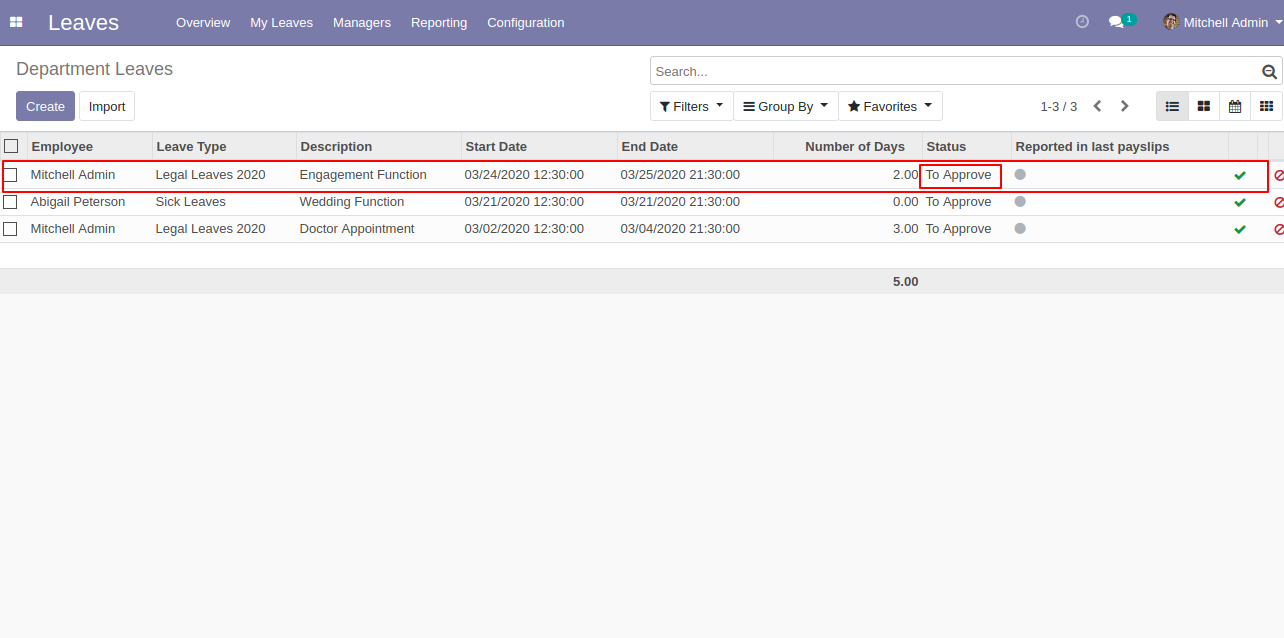
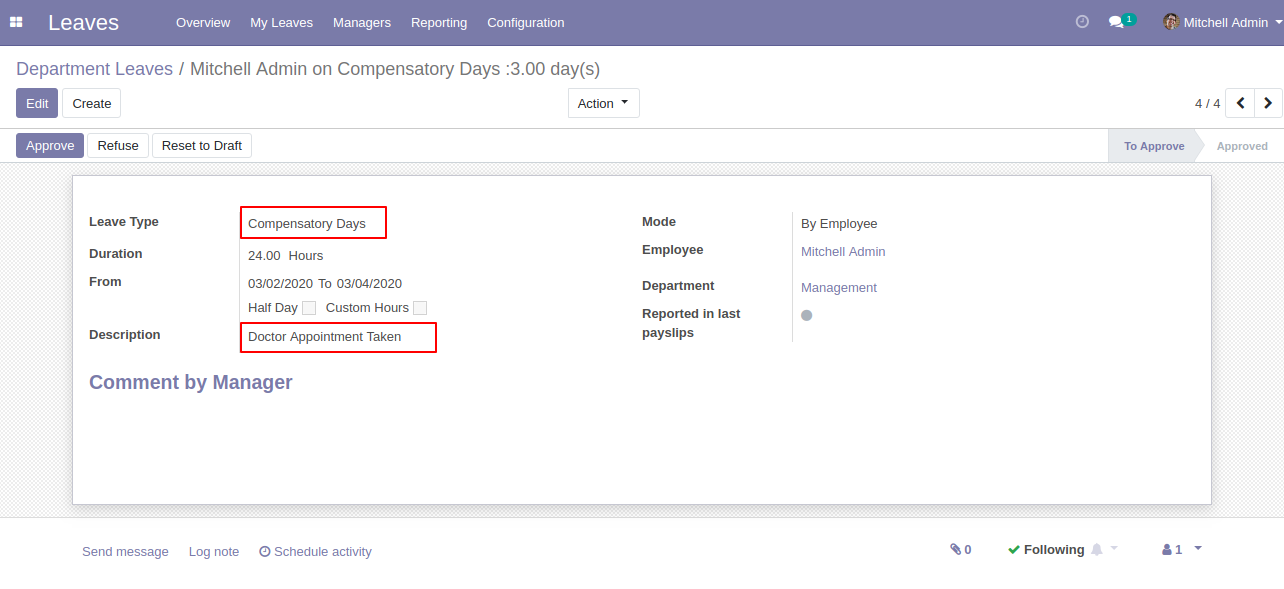
Updated leave form view in the backend looks like below, here our state is "To Approve".
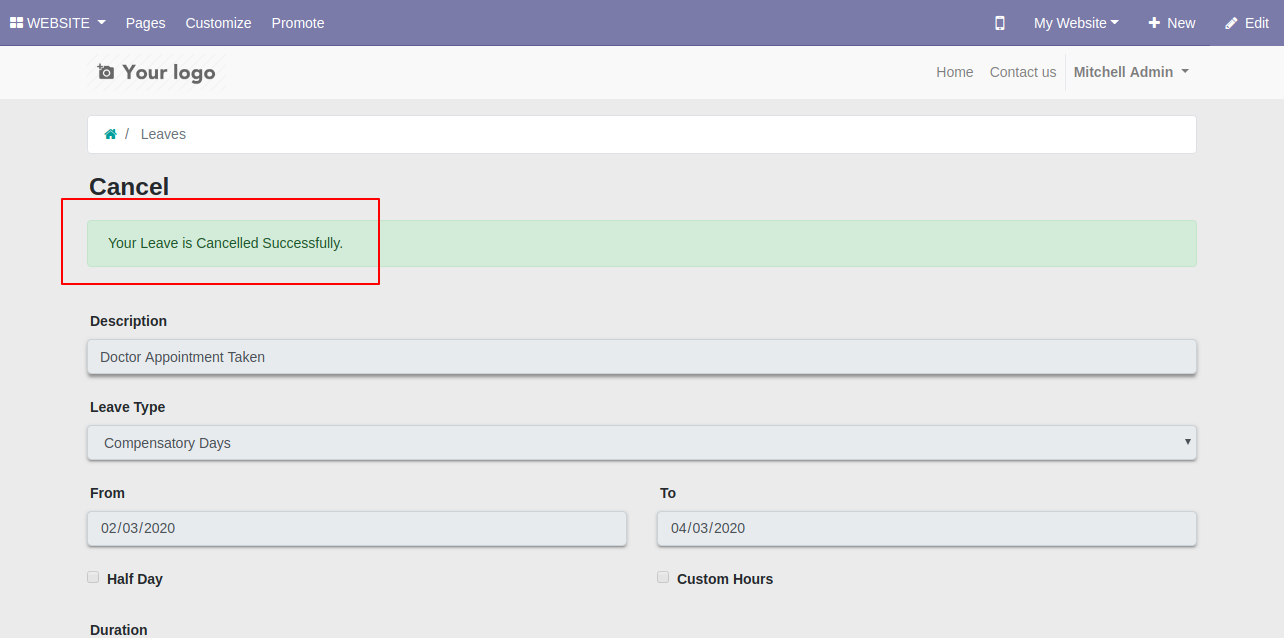
The admin can cancel the updated leave.
It shows notification after cancelling the leave.
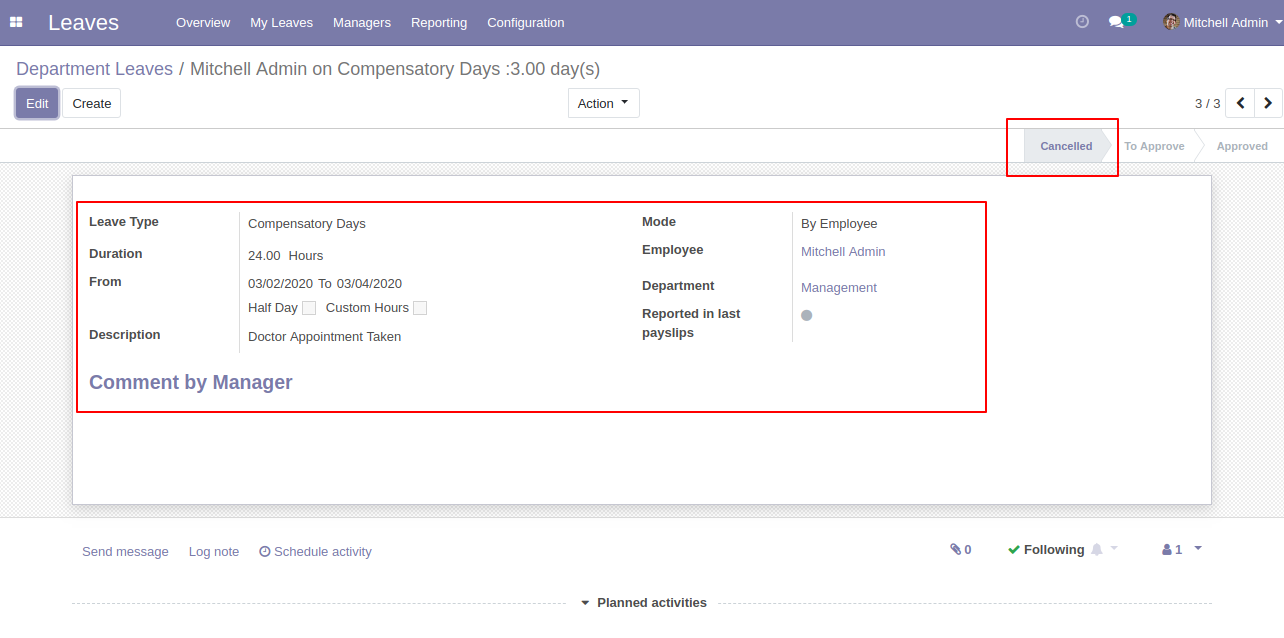
Cancelled leave form view in the backend looks like below, here our state is "To Cancelled".
After that it comes to review state, here admin can confirm or cancel leave.
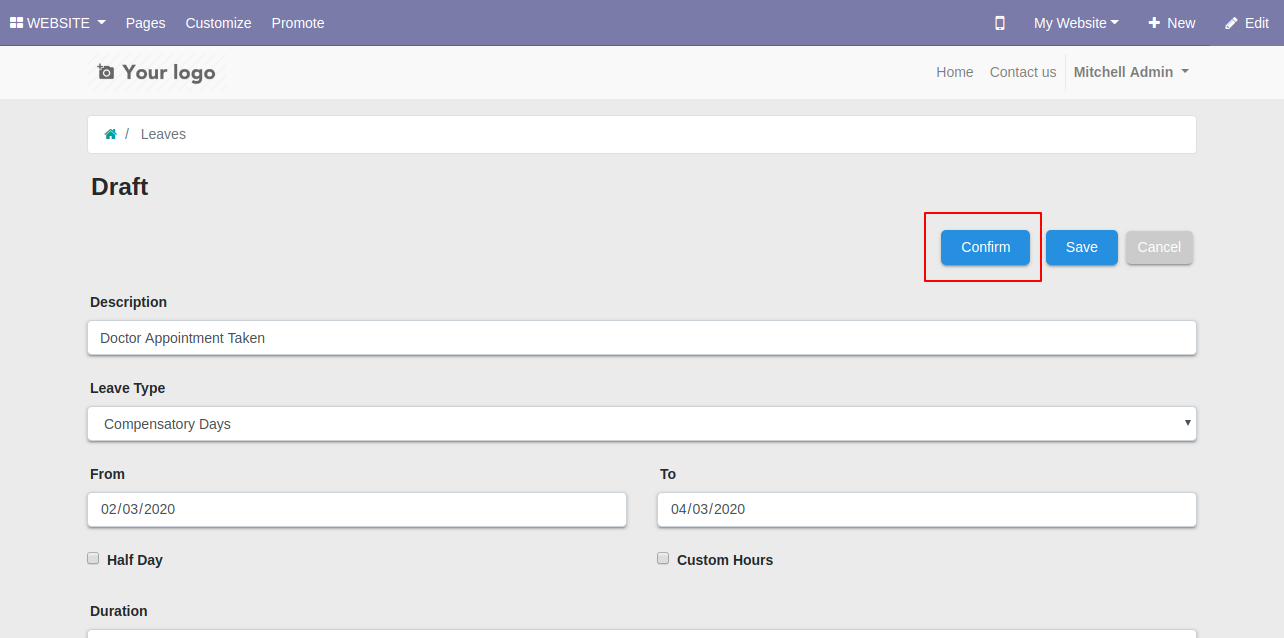
If admin press "Confirm" button then leave is confirmed.
Confirmed leave form view in the backend, here our state is "To Approve".
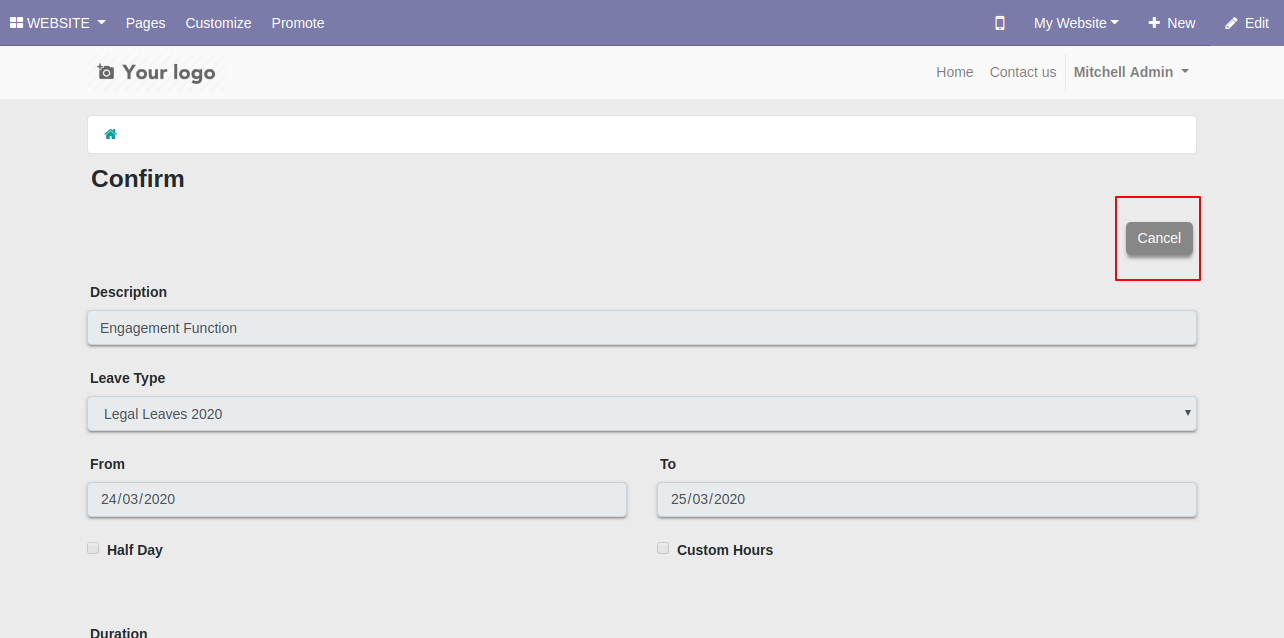
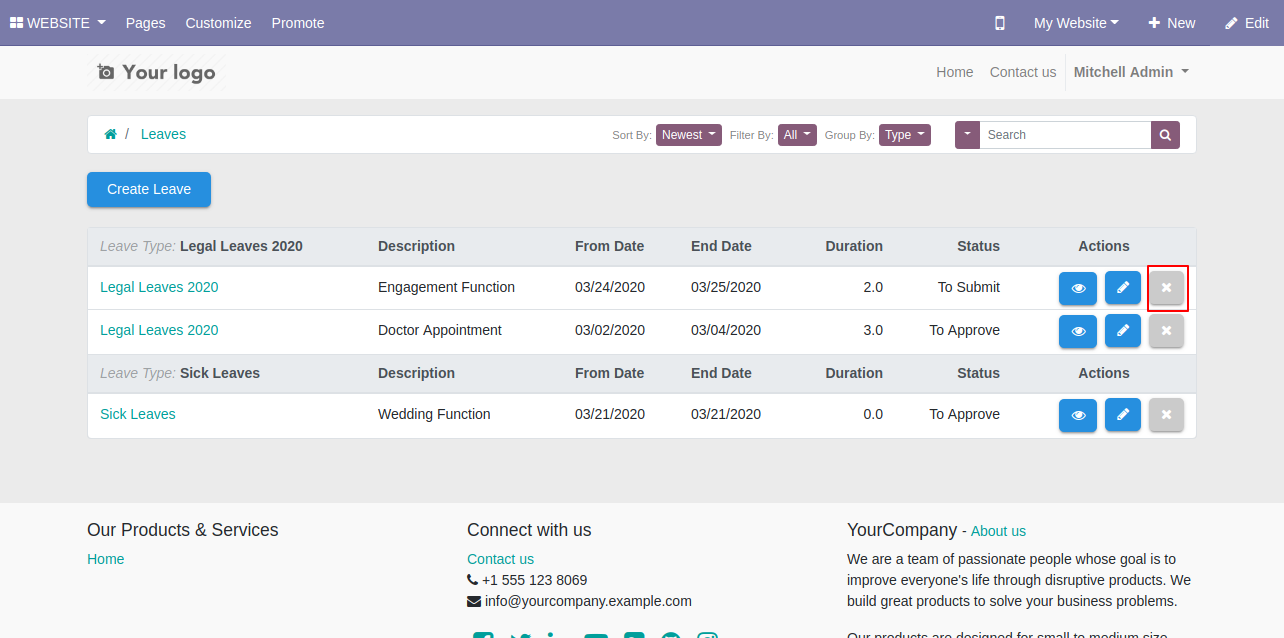
"Cancel" Button workflow
Press the cancel button to cancel the leave.
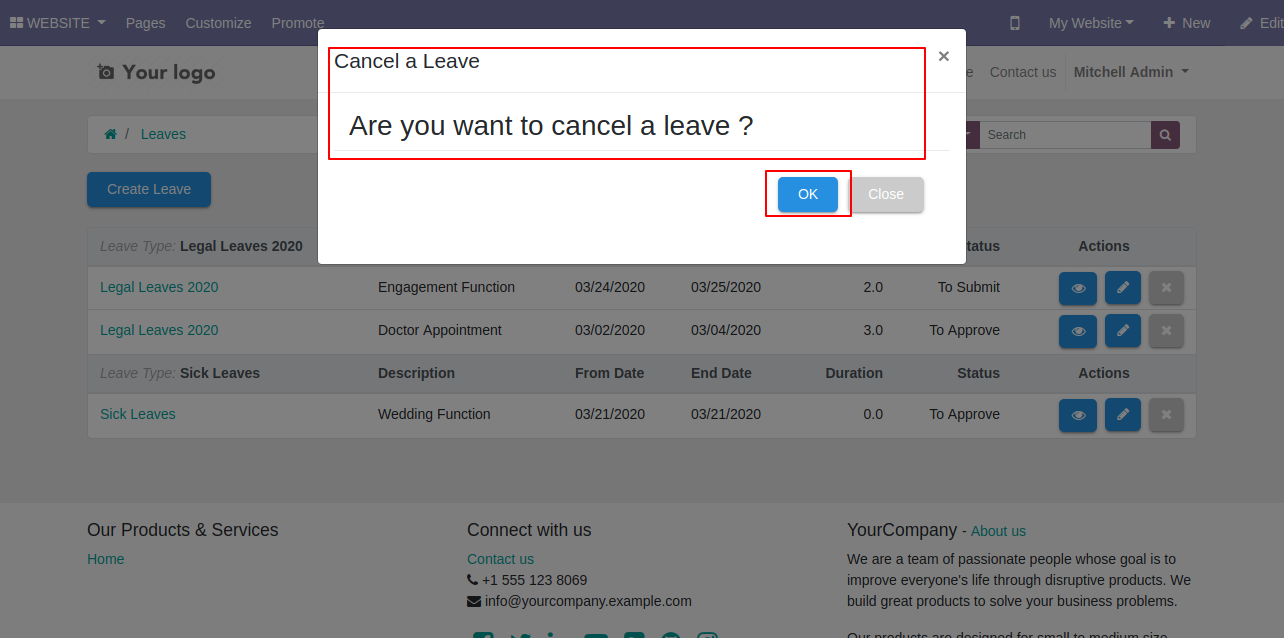
After that alert message comes press "Ok" to delete leave from the portal.
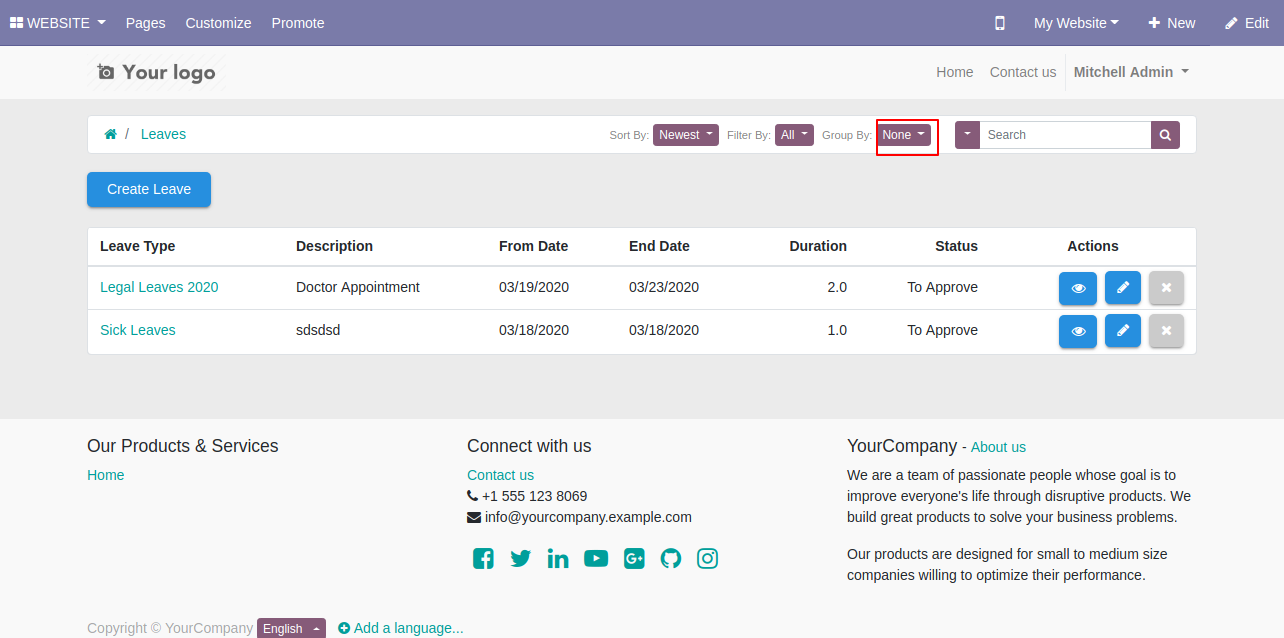
"Filter, Group By & Sort By" Button workflow
Easy to group by, filter & sort by leaves using smart buttons.

You can group by leave using type or none.
You can sort by leave by newest and name.
You can filter leaves using any of the provided custom filter list.
The "Last month" list view of the filter looks like below.

The "Last week" list view of the filter looks like below.

The "Last Year" list view of the filter looks like below.

The "This Month" list view of the filter looks like below.

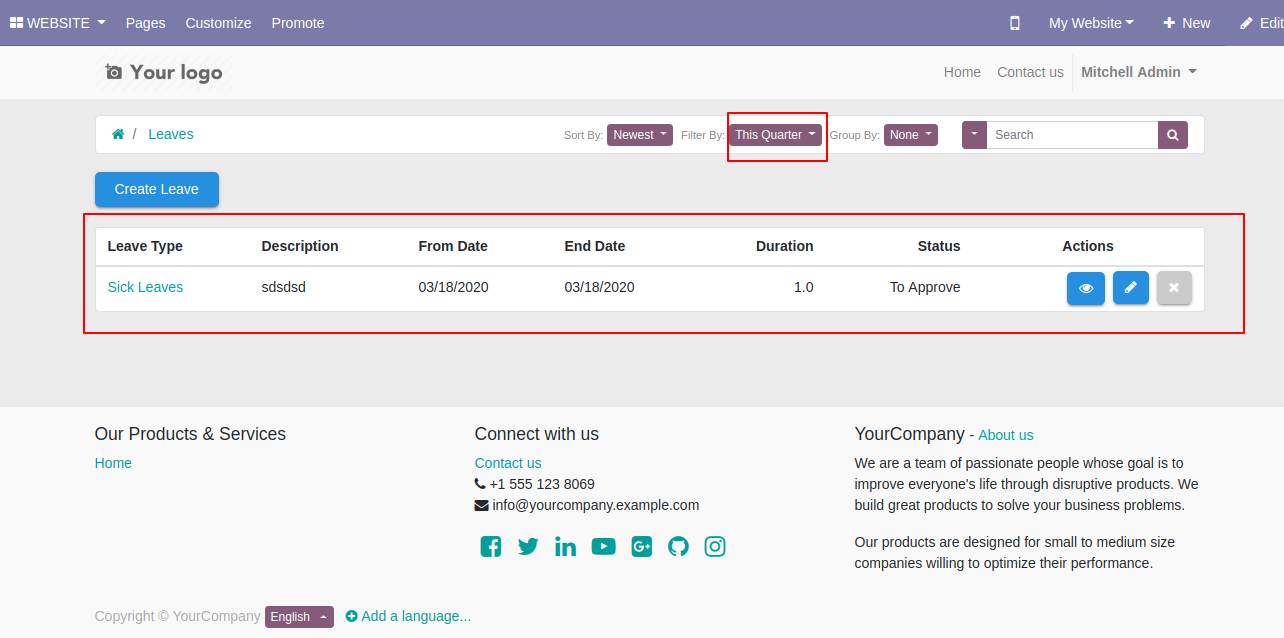
The "This Quarter" list view of the filter looks like below.
The "Today" list view of the filter looks like below.

The "This Week" list view of the filter looks like below.
The "This Year" list view of the filter looks like below.
You can search leave by the search bar.
You May Also Like!
Portal Timesheet
Tender Management - Portal
Request For Quotation-Portal